Ram Heavy Duty Forum

Register a free account today to become a member! Once signed in, you'll be able to participate on this site by adding your own topics and posts, as well as connect with other members through your own private inbox!

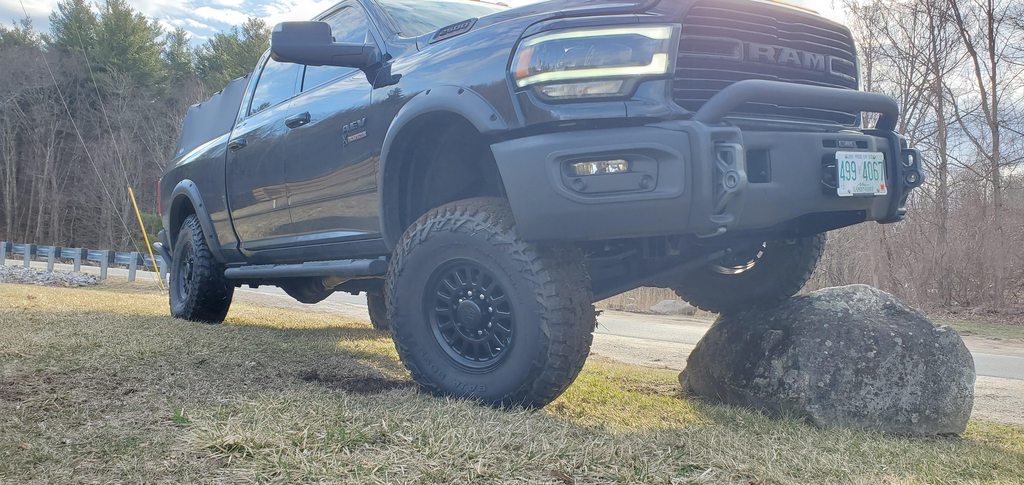
Lumpskie's Prospector (Diesel Power Wagon) Build

UglyViking

Well-Known Member
Joined
Jul 11, 2020
Messages
1,304
Reaction score
1,591
I'm glad it wasnt' just me that had the issue... I was seriously wondering if I was going to strip out that cap or crack it.


Yeah, I was surprised to see the oil used as well. (I was considering putting a dielectric grease or something in there to lube it. It reminds me of my house water filter in terms of the housing and I keep that filter lubed with petroleum jelly) Also, I am totally game to do an HD truck outing to the North Maine Woods! Being that you have a 2019... what are your thoughts on going up there, if we don't get our CP4s warrantied first?
I literally just came back from a trip to SC early this am (15 hour drive straight up + traffic took me just over 16 hours with 3 less than 10 min stops). I didn't have any issues, and I was a little nervous especially since the last leg of my journey ended up being a tick over 6 hours. I am 100% going to be upgrading prior to this. I'm also planning on a trip down to FL or out to MT this summer (June/July) and I'll be upgrading it before then. At this point, with all the delays, I'm gonna shell out the out of pocket cost for an S&S or similar kit and submit the receipts. It's a bit out of pocket but just getting it done and over will be worth the hassle for me considering the likely backup that will continue with getting parts.

If you're interested in also swapping "early" reach out to Dave at 2D in Bow if you're near. He's a good friend of mine and I've never met someone so anal with installing parts. I'm sure he can get your kit ordered and installed before any trip timeline. If you want to wait then, at least for me, I'd hold off on any serious adventuring. It's a pretty unlikely thing to fail, only 4% of all so far have failed, but it's a number that's rising daily since they have a known quantity and the failure increase. It's low likelihood but high cost. For me, risk doesn't justify reward so I'll replace before I go out very far. Highway tow truck is one thing, and an annoyance at that, but not terrible. I could only imagine the tow truck and recovery cost involved with getting one of these rigs out of the backwoods.
 

Lumpskie

Well-Known Member
Joined
Nov 11, 2021
Messages
261
Reaction score
440
I literally just came back from a trip to SC early this am (15 hour drive straight up + traffic took me just over 16 hours with 3 less than 10 min stops). I didn't have any issues, and I was a little nervous especially since the last leg of my journey ended up being a tick over 6 hours. I am 100% going to be upgrading prior to this. I'm also planning on a trip down to FL or out to MT this summer (June/July) and I'll be upgrading it before then. At this point, with all the delays, I'm gonna shell out the out of pocket cost for an S&S or similar kit and submit the receipts. It's a bit out of pocket but just getting it done and over will be worth the hassle for me considering the likely backup that will continue with getting parts.

If you're interested in also swapping "early" reach out to Dave at 2D in Bow if you're near. He's a good friend of mine and I've never met someone so anal with installing parts. I'm sure he can get your kit ordered and installed before any trip timeline. If you want to wait then, at least for me, I'd hold off on any serious adventuring. It's a pretty unlikely thing to fail, only 4% of all so far have failed, but it's a number that's rising daily since they have a known quantity and the failure increase. It's low likelihood but high cost. For me, risk doesn't justify reward so I'll replace before I go out very far. Highway tow truck is one thing, and an annoyance at that, but not terrible. I could only imagine the tow truck and recovery cost involved with getting one of these rigs out of the backwoods.

You share my thoughts exactly. I bought my truck in Colorado and drove it out here with no problems. (In fact, the drive is what made the family fall in love with the truck) If I had a failure, it would be a tow and inconvenience. But, when deliberately trying to get as remote as possible, the impact would be different. I've been trying to keep up on the recall stuff. I read on here that the new pump is supposed to be a CP3.3. I also read that it is supposed to be larger than a standard CP3 and an adaptation from an "industrial" application. All this sounds very good to me... but I don't know what to believe.

Do any of you guys have the latest information on the impact of purchasing a CP3 swap versus getting the recall based pump? Is one better than the other? Long term, which one would you all prefer? (Or is there really no difference?)
 

UglyViking

Well-Known Member
Joined
Jul 11, 2020
Messages
1,304
Reaction score
1,591
All the questions you're asking about the CP3 are the same ones I was asking myself. At this point, I've heard all sorts of rumors but have seen no data and whenever I ask the person sharing the details I'm always told that they heard from a friend, have a source, etc. All leads me to little confidence in the "data" being shared. I'd love it if someone could break down the differences between the CP3 swap in the 19-20 trucks, the CP3 in the 21+ trucks and the "old" CP3 from the kits, but as of yet no one has done that.

I'm going to be ordering and putting in a aftermarket unit, primarily because I've got a few trips coming up and just don't want to be stuck waiting on replacement parts. There is also the question of performance mods. Do you plan to keep the trucks engine stock? If so, prob no need to upgrade. If you want to add turbos, injectors, etc. then you need more fueling capabilities and I've heard of a few guys getting 10mm reimbursements, supposedly one guy got a 12mm reimbursed, but I have no clue how true it is.
 

Lumpskie

Well-Known Member
Joined
Nov 11, 2021
Messages
261
Reaction score
440
Yesterday, my wife asked me "What's that box on the porch that says Ram on it?" I took a quick look and realized that my SoftTopper had been delivered... I never even got a shipping notification! Today, it was supposed to be in the 50s and sunny. That never happens in New England so I had to put it together.
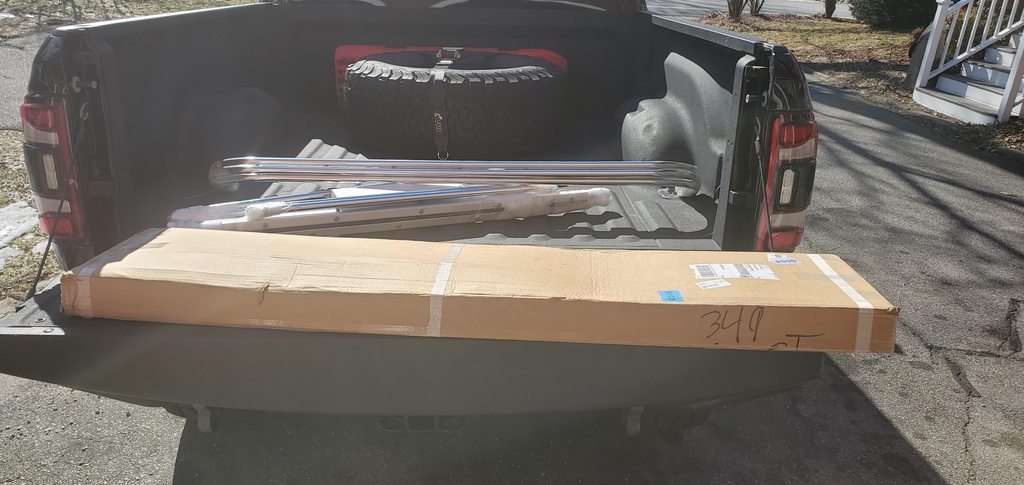
I turned the bed into my work area and started unpacking
5IkspQYh.jpg


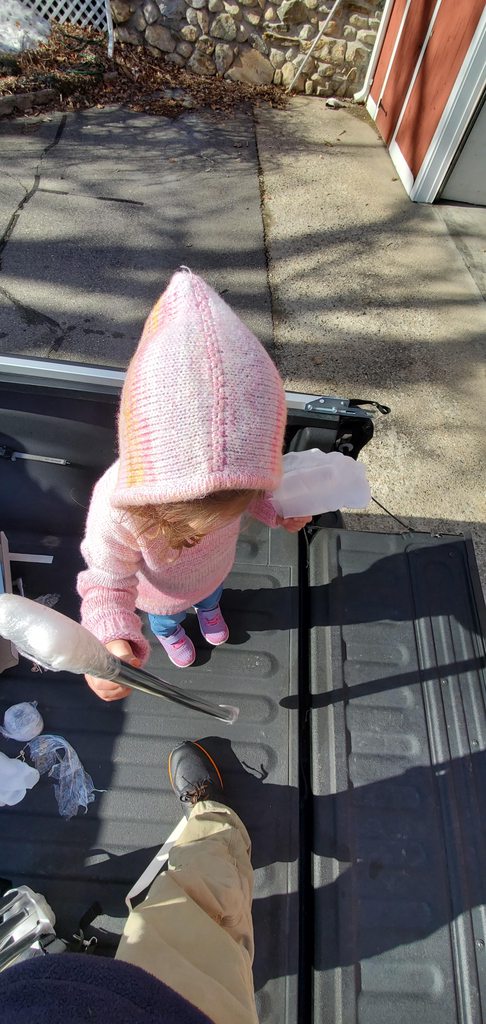
A little helper came out and revealed that she's more of a little manager
DaLu0EHh.jpg


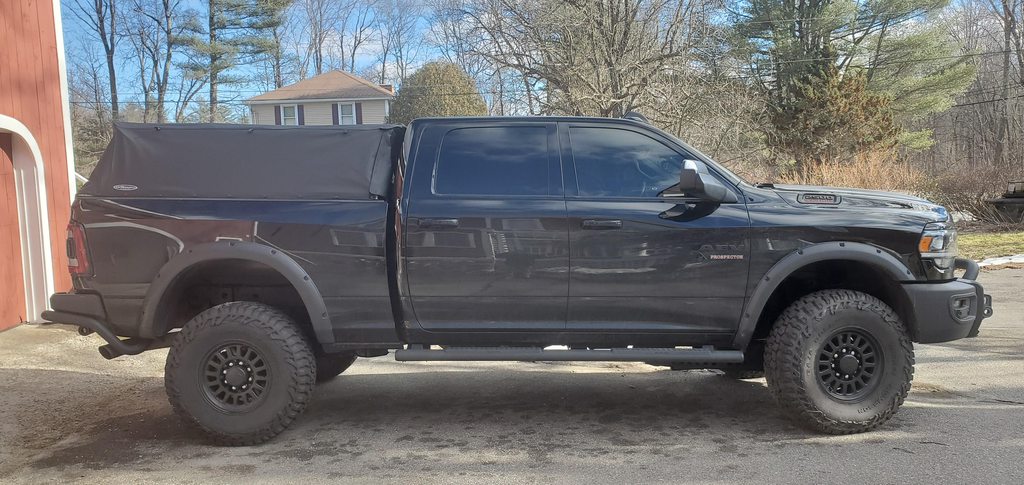
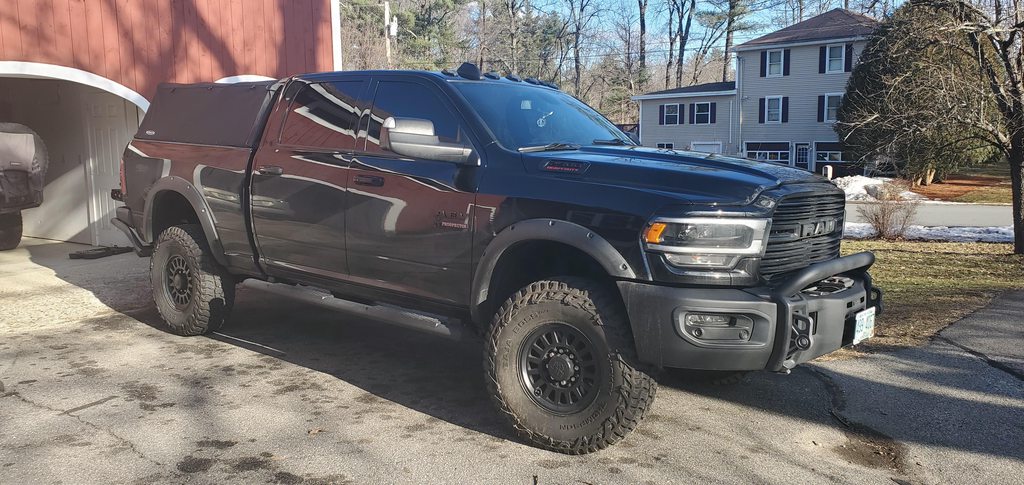
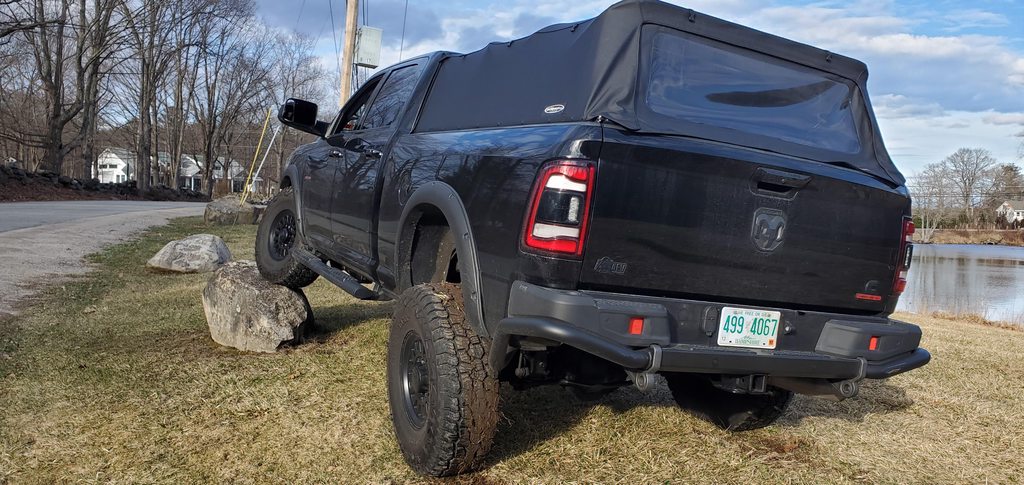
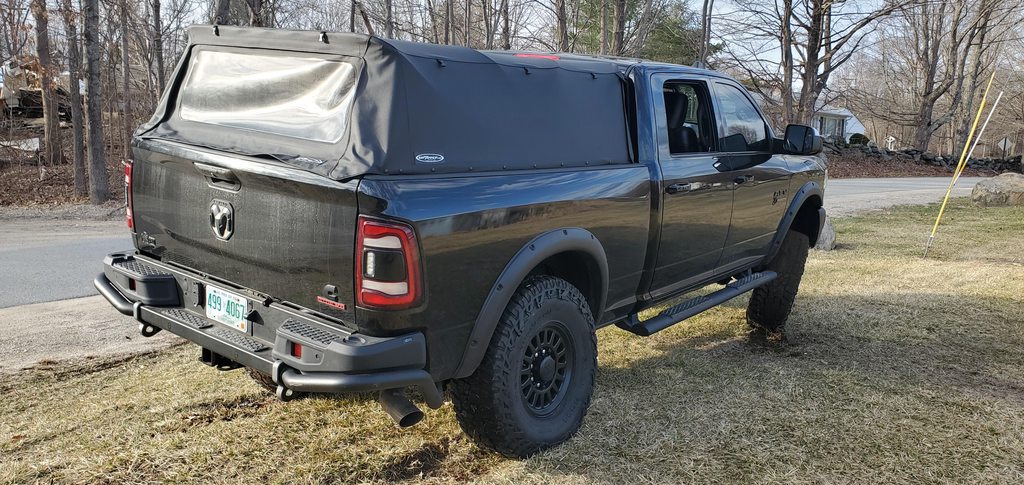
Assembly was pretty quick and easy. The material of the topper doesn't stretch or move too well when it's cold... so that was a little difficult. But, overall, everything went smooth. I like the look of it on the truck.

VxTo1yDh.jpg


OctEtT6h.jpg


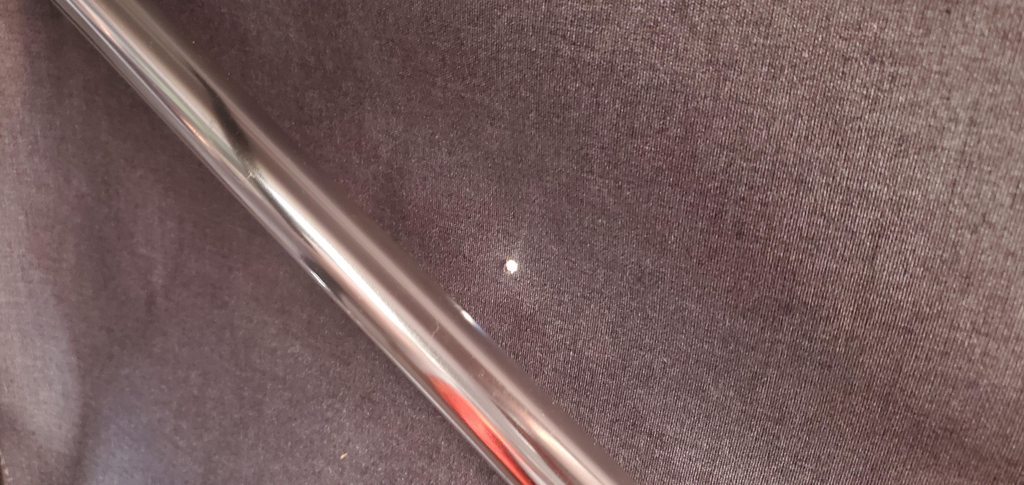
Then, I took a look inside and saw this... looks like someone nicked it with a drill bit
NFLbm15h.jpg


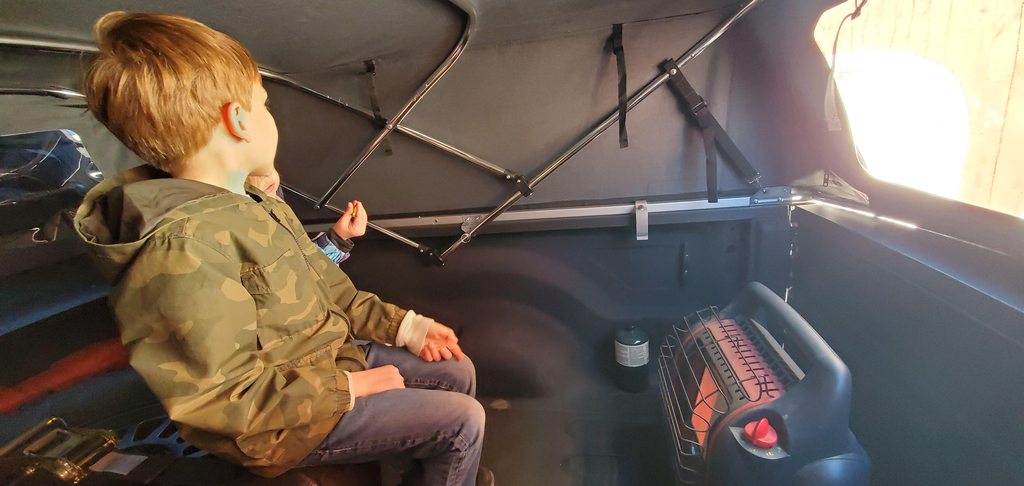
I emailed SoftTopper and they replied really quickly. The said I could get a free replacement (when one was available) or get $100 off and a free patch kit. I elected to just get a replacement. For the time being, I'll just run this as-is. A cold front started its way through and temps dropped from the 50s down to 30 degrees... with the wind it felt cold. But, the kids were too excited. So, I brought out my Buddy heater and we had a snack in the back... good times.

RyKb1ZBh.jpg


I know that these toppers don't lock, have no side windows and aren't 100% weatherproof. Still, I think the versatility of this setup combined with the weather protection it does provide will likely suit me fine.
 

UglyViking

Well-Known Member
Joined
Jul 11, 2020
Messages
1,304
Reaction score
1,591
Yesterday, my wife asked me "What's that box on the porch that says Ram on it?" I took a quick look and realized that my SoftTopper had been delivered... I never even got a shipping notification! Today, it was supposed to be in the 50s and sunny. That never happens in New England so I had to put it together.

I turned the bed into my work area and started unpacking
5IkspQYh.jpg


A little helper came out and revealed that she's more of a little manager
DaLu0EHh.jpg


Assembly was pretty quick and easy. The material of the topper doesn't stretch or move too well when it's cold... so that was a little difficult. But, overall, everything went smooth. I like the look of it on the truck.

VxTo1yDh.jpg


OctEtT6h.jpg


Then, I took a look inside and saw this... looks like someone nicked it with a drill bit
NFLbm15h.jpg


I emailed SoftTopper and they replied really quickly. The said I could get a free replacement (when one was available) or get $100 off and a free patch kit. I elected to just get a replacement. For the time being, I'll just run this as-is. A cold front started its way through and temps dropped from the 50s down to 30 degrees... with the wind it felt cold. But, the kids were too excited. So, I brought out my Buddy heater and we had a snack in the back... good times.

RyKb1ZBh.jpg


I know that these toppers don't lock, have no side windows and aren't 100% weatherproof. Still, I think the versatility of this setup combined with the weather protection it does provide will likely suit me fine.
Bummer about the hole but alas nothing is perfect. I got my RSI cap just before heading down to SC for a 10 day vacation and it has quite a few flaws (which I still need to email RSI about). On the plus side it wounds like they are gonna do you right so that's great news!

I went back and forth about the softopper option, and I got close to pulling the trigger. I really dislike the look of a cap so that was a huge reason. If you end up needing some secure storage I'd say to go with some sort of drawer system (either purchased or DIY) as even if they get into the top, they wouldn't be able to get the drawers open with the locking tailgate unless they worked for it, so at least no smash and grab. Overall looks great though!
 

Lumpskie

Well-Known Member
Joined
Nov 11, 2021
Messages
261
Reaction score
440
Bummer about the hole but alas nothing is perfect. I got my RSI cap just before heading down to SC for a 10 day vacation and it has quite a few flaws (which I still need to email RSI about). On the plus side it wounds like they are gonna do you right so that's great news!

I went back and forth about the softopper option, and I got close to pulling the trigger. I really dislike the look of a cap so that was a huge reason. If you end up needing some secure storage I'd say to go with some sort of drawer system (either purchased or DIY) as even if they get into the top, they wouldn't be able to get the drawers open with the locking tailgate unless they worked for it, so at least no smash and grab. Overall looks great though!

Yeah, even though the topper has a little hole, Soft Topper was really good to work with on agreeing to a replacement. I'm wracking my brain on what to do with this topper now... wonder if I could turn it into something. I'm with you in that I like the pickup look without a topper as well. So, being able to easily fold or remove the topper was a draw for me. (plus, being able to convert to an open bed on the fly, if I need to) That's a great idea on drawers if I need secure area too. I'll have to keep that in mind as I figure out what I want to do in the near future.
 

Lumpskie

Well-Known Member
Joined
Nov 11, 2021
Messages
261
Reaction score
440
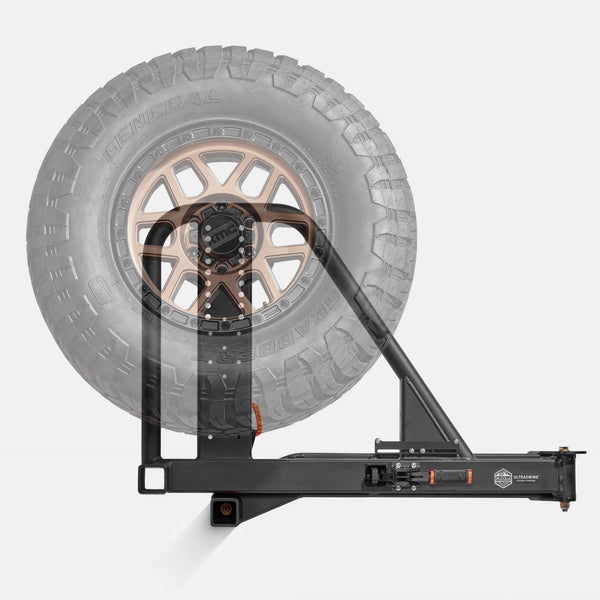
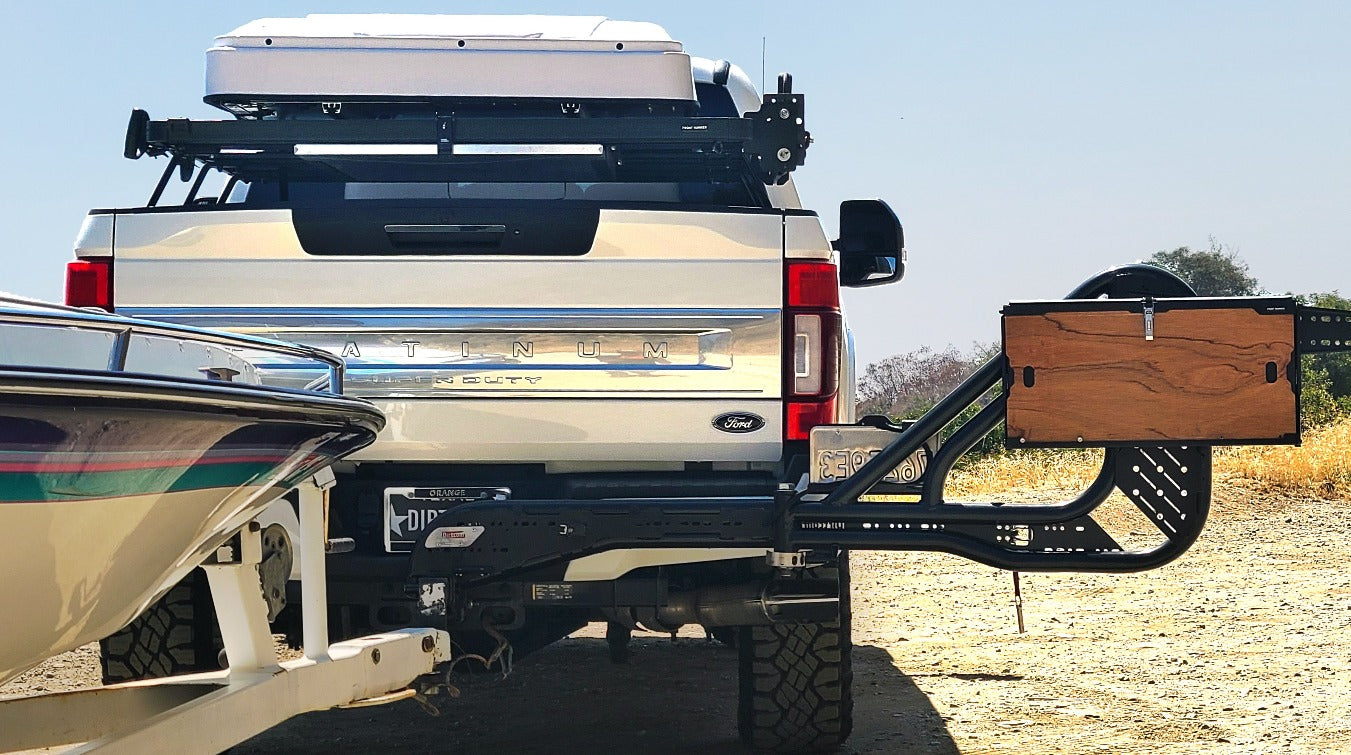
Looking for your advice, guys. I am considering getting a tire swingout to get my spare put of my bed. But, I don't want to loose/block my reverse camera. Do any of you know about a relocation kit that would allow me to mount a camera to the swingout?
 

Darkone

Well-Known Member
Joined
Nov 30, 2020
Messages
372
Reaction score
485
Location
West Virginia
Might be able to use something from a wrangler on a swing out their cameras are mounted in the spare tire.
 

Lumpskie

Well-Known Member
Joined
Nov 11, 2021
Messages
261
Reaction score
440
Might be able to use something from a wrangler on a swing out their cameras are mounted in the spare tire.
This brought an idea to mind... Isn't there a trailer camera option for Rams now, where you plug the camera into a socket in the rear bumper? I wonder if I can upfit my rig with an OEM item like that... and just plug in the swingout when it's on the rig and unplug it when I take it off.
 

Jeff1759

Active Member
Joined
Feb 17, 2021
Messages
119
Reaction score
147
I needed to relocate the reverse camera when I removed the tailgate and put the camper in the bed of the truck. I got an OEM tailgate camera from Mopar, then when back and forth for a long time on the cable/housing kit from Rostra.
Reason for going back and forth is the fact that you can get the camera and cable for a decent price, but the plastic housing with 2 screws ends up costing $100+.
I pulled the trigger on it telling myself that it is waterproof and mounts the camera in a position that is like the stock mounting position in the tailgate handle, and looks perfect on the in cab screen.
In the end, I'm glad I went with it.
 

Lumpskie

Well-Known Member
Joined
Nov 11, 2021
Messages
261
Reaction score
440
I needed to relocate the reverse camera when I removed the tailgate and put the camper in the bed of the truck. I got an OEM tailgate camera from Mopar, then when back and forth for a long time on the cable/housing kit from Rostra.
Reason for going back and forth is the fact that you can get the camera and cable for a decent price, but the plastic housing with 2 screws ends up costing $100+.
I pulled the trigger on it telling myself that it is waterproof and mounts the camera in a position that is like the stock mounting position in the tailgate handle, and looks perfect on the in cab screen.
In the end, I'm glad I went with it.

This is good information to know. Would you mind sharing what you did a little more? Did you end up using the connector from the tailgate to wire in your Rostra? (I ask because I am planning on keeping my tailgate/camera intact. I just want to add a Rig'd removable swingout and I want to mount an additional camera on that) Does your camera use the stock 8.4 or 12" display? Did you have to update and of the stock truck software to make it work?

Here's what I'm looking at:


Or this:


Thanks for the info!
 
Last edited:

Jeff1759

Active Member
Joined
Feb 17, 2021
Messages
119
Reaction score
147
Lumpskie, it was a simple plug and play for me. Plugged into the fitting located at the rear bed area, behind bottom of tailgate and behind black plastic. 8.4" Uconnect immediately recognized and properly displayed image.
I could have used existing factory tailgate camera, but by purchasing another one, I eliminated the need to remove factory cam, and if/when I put tailgate back on, it will be another simple plug and play.
Camera from MOPAR fit perfectly into the (expensive) housing. Housing included the necessary plug and play cable, which can be found separately on Amazon for $10.
I mention that because you might be better than I at fabricating a mount for the camera, eliminating the purchase of the expensive plastic housing.
I did not have to do any kind of software update, just pay attention to which mopar camera you might order so that it is the correct one.
The cable is, I believe, 8ft long. The excess is just coiled and zip tied.
You might search for a splitter to connect 2 cameras. Never needed one, so never tried to look for such a thing if one even exists.06467979-33B3-423D-8947-B0352C52D87E.jpeg
 
Last edited:

Jeff1759

Active Member
Joined
Feb 17, 2021
Messages
119
Reaction score
147
Thanks,
Drilled through the door and sealed, ran wire to hinge side of door and zip tied, then down through floor at corner.
Camera is in same location as if it were in the tailgate handle.
 

Lumpskie

Well-Known Member
Joined
Nov 11, 2021
Messages
261
Reaction score
440
Looks like Rigd offers a kit for that, although it's not rated for the 19+ trucks (perhaps you could call and see if it would work). https://www.rigdsupply.com/collecti...-camera-relocation-kit?variant=31290926694473
Reached out to RiGd Supply and they said the connector changed from 2018 to 2019. But the also were willing to tell me that Brand Motion supplies their camera kit. So, I sent an email to them about a 2020 solution. I'll post up if I learn anything useful.
 

Lumpskie

Well-Known Member
Joined
Nov 11, 2021
Messages
261
Reaction score
440
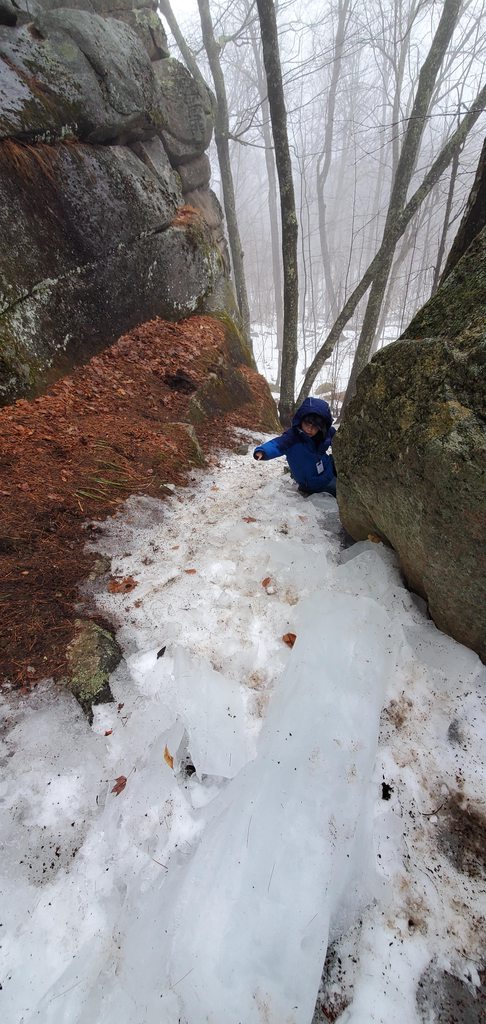
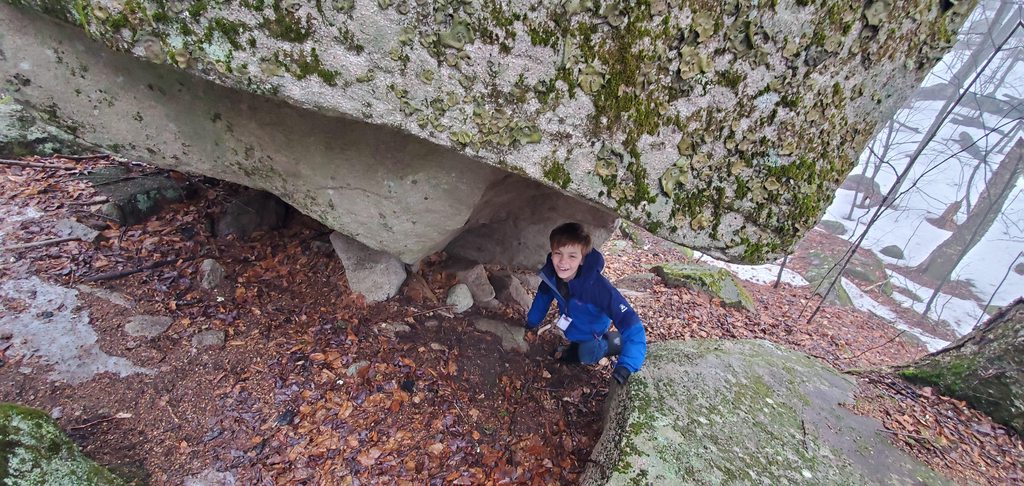
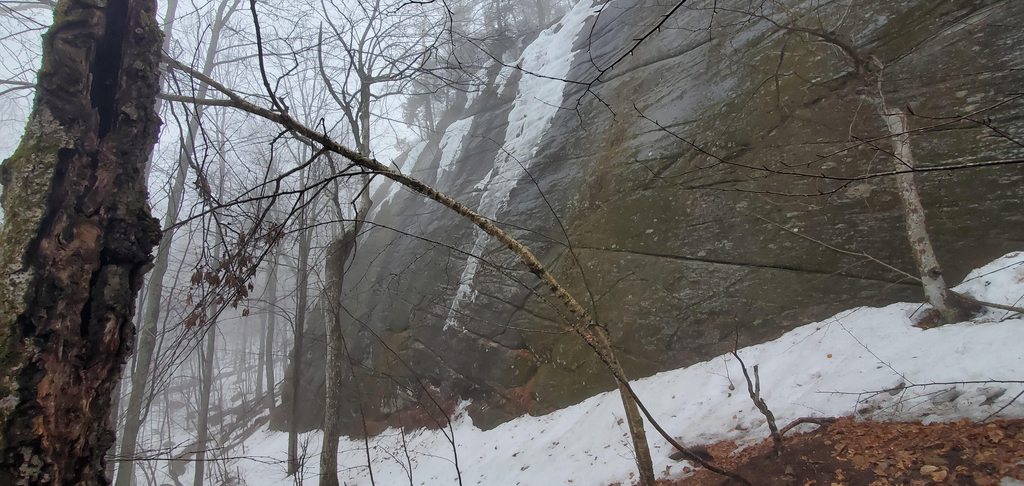
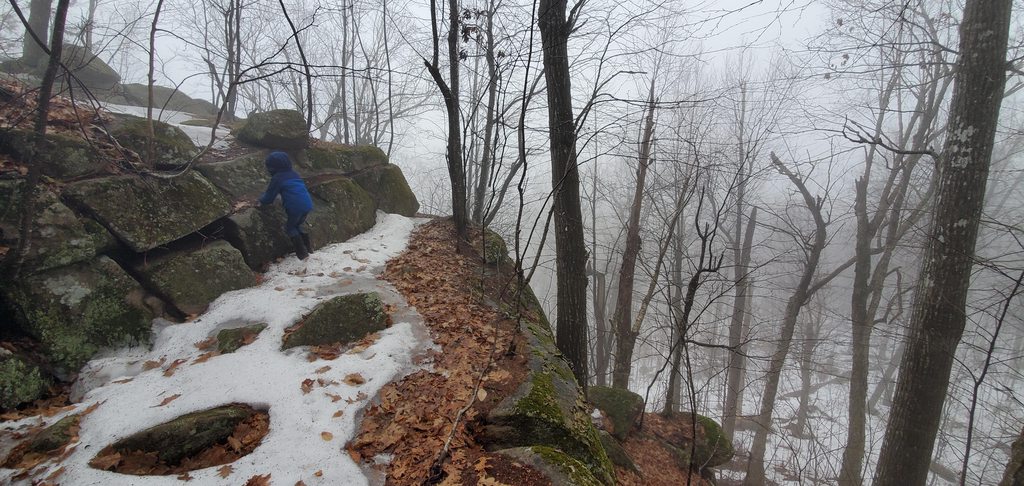
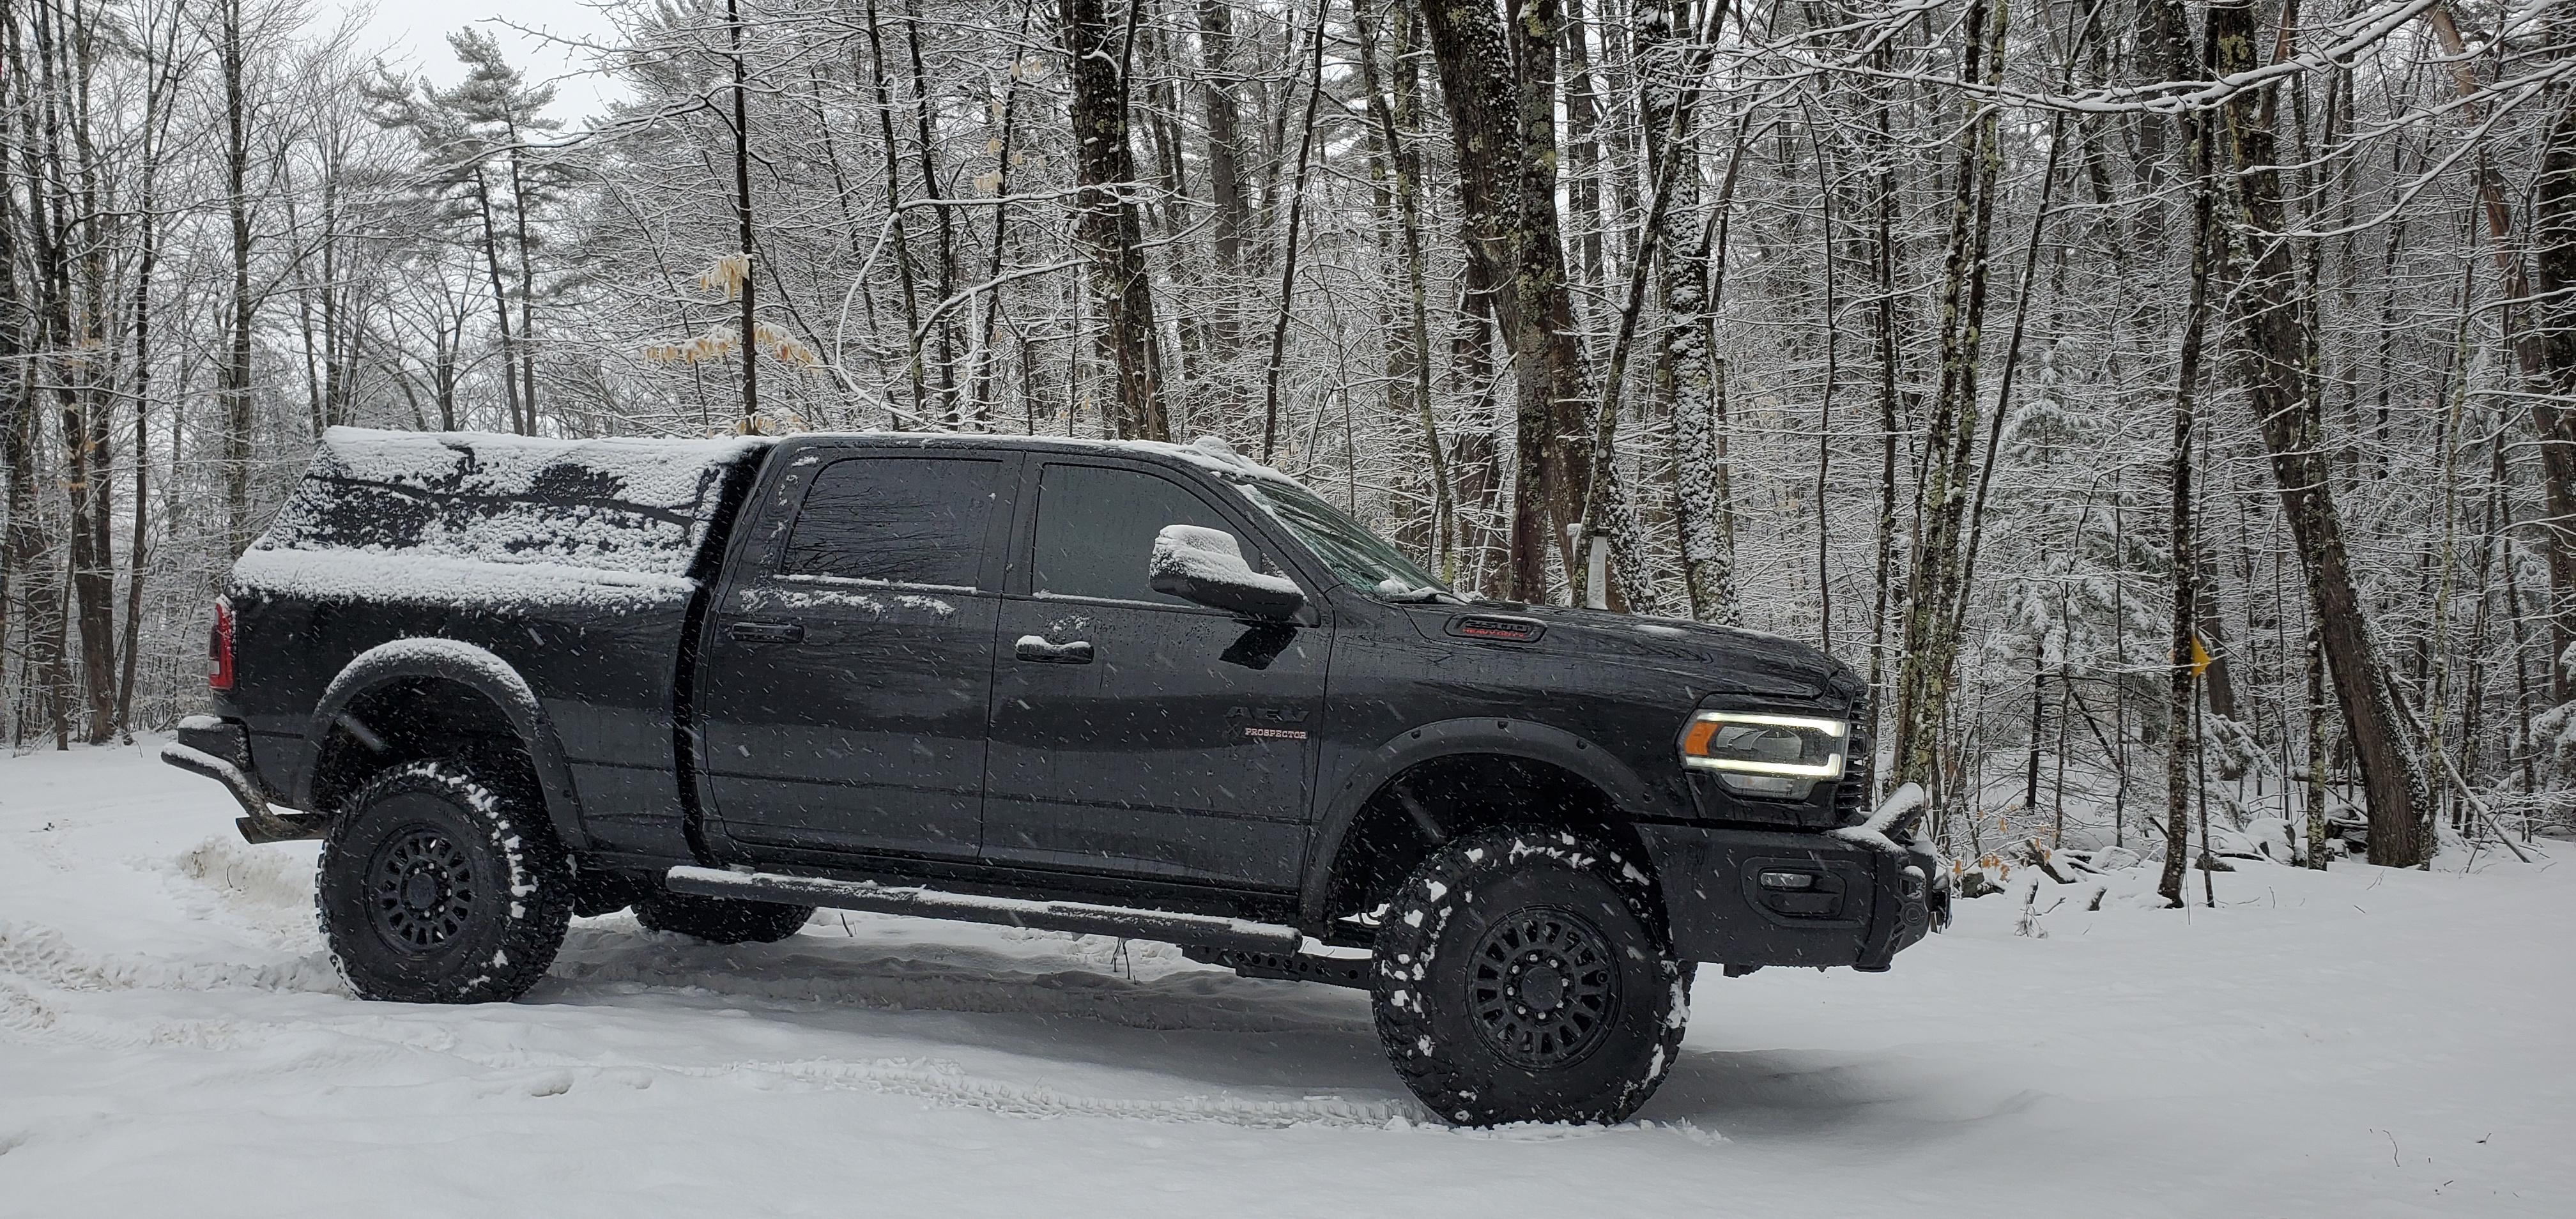
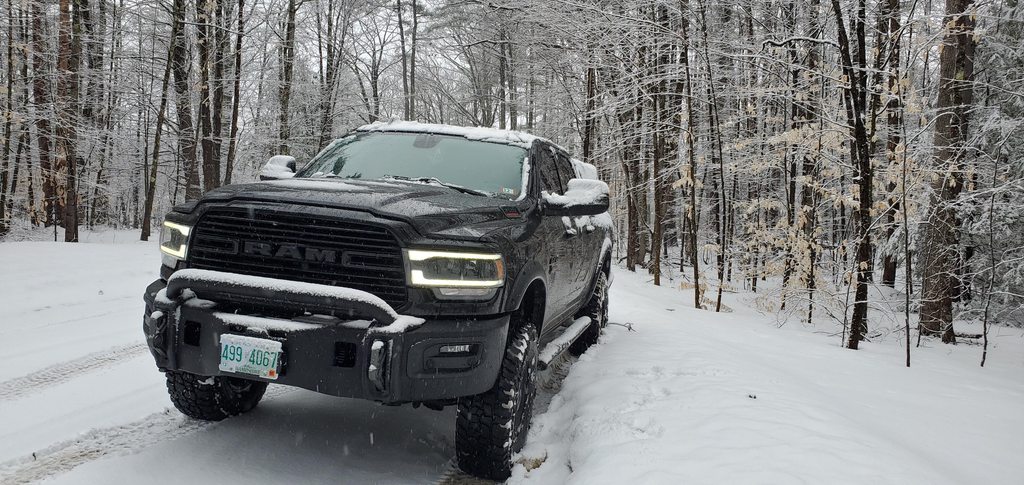
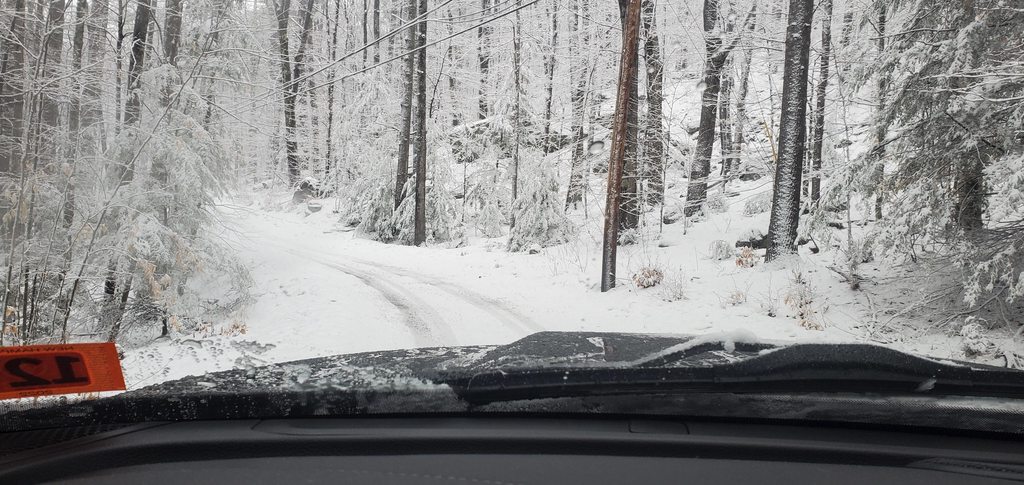
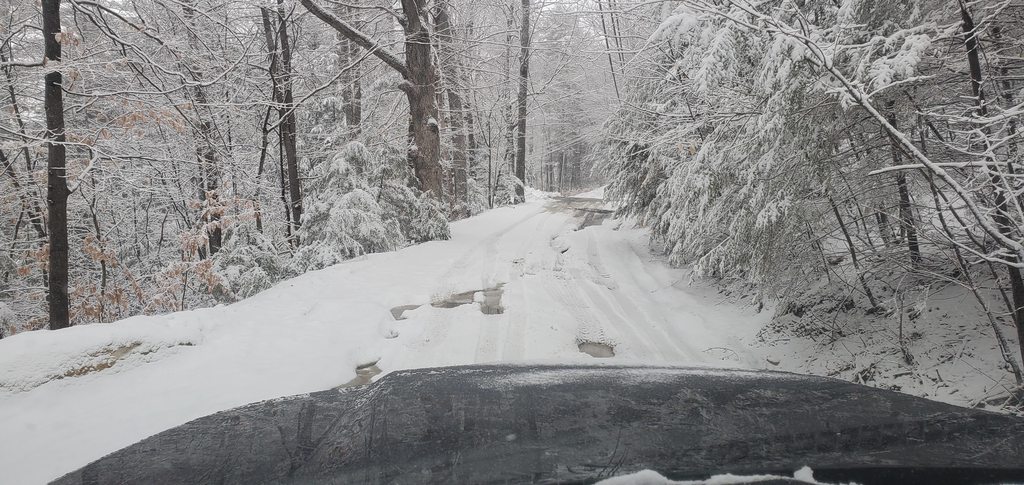
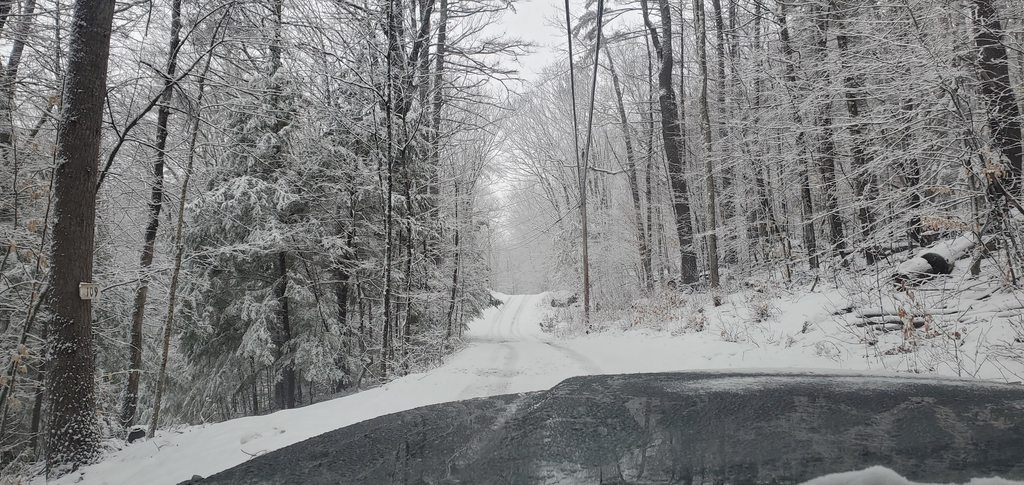
I got to test out the Mickey Thompson ATs in some deep snow and ice this weekend. The first test was driving a couple class 6 roads to find "Devil's Den" cave. This is a cave formed by falling rocks. There are many local legends/theories about the cave, to include stories of it being a Native American burial site as well as a shelter for earlier settlers who ended up passing away. The route goes through some road that is pretty tame... basically pot hole filled dirt road through some rolling hills. This time, we found about 5 inches of ice coating the road so it turned into an adventure!

T4ygJ9dh.jpg


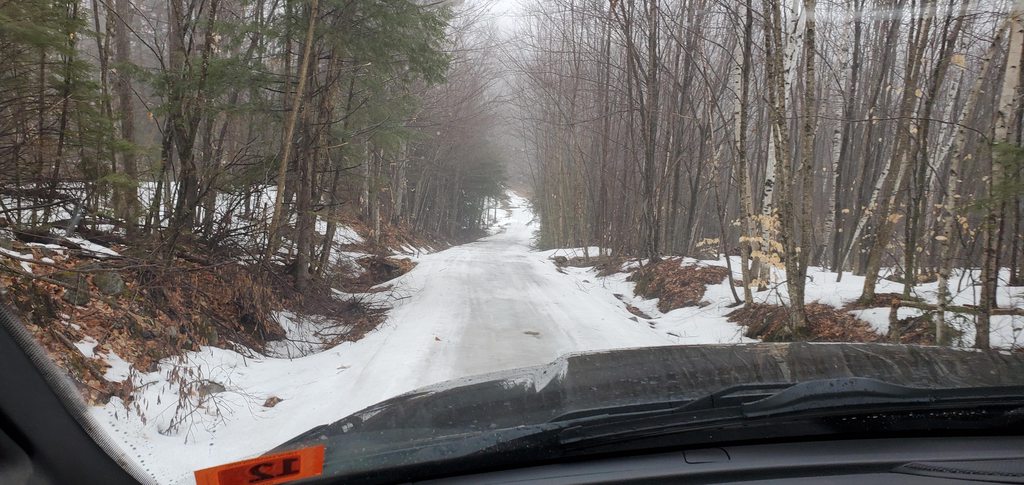
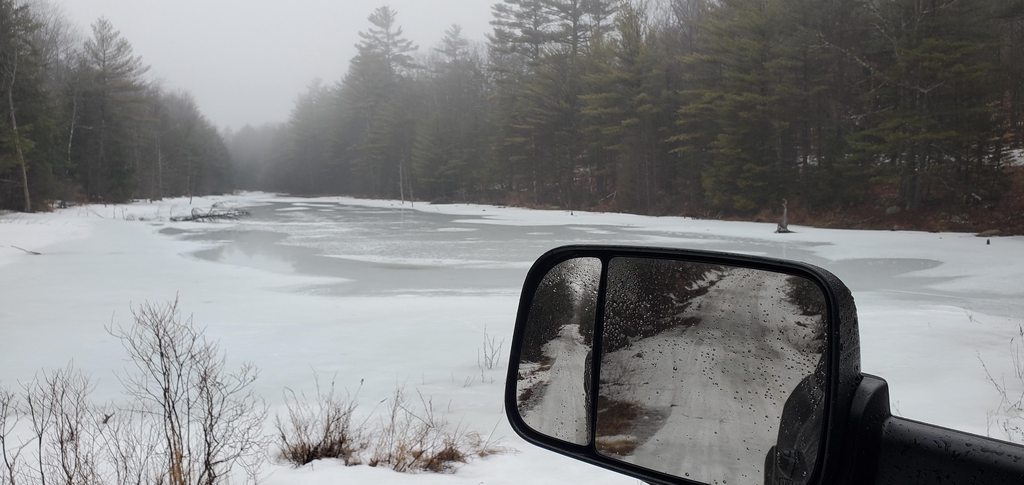
The road meanders through the woods and has some decently steep hills. The drive in is mostly downhill. I was in 4 low and used the gear limiting feature to keep the truck in 2nd. I could idle at roughly 5 miles per hour in 2nd, which let us descend slowly and mostly worry free to the bottom. At the bottom there is a neat pond at the edge of the road.

MJ1RhELh.jpg


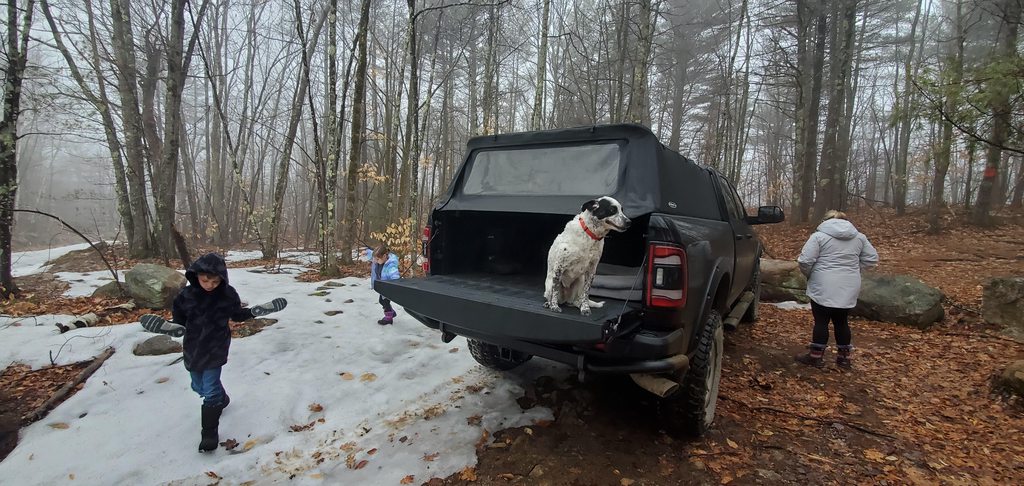
Once we arrived, I chose to not think about the fact that we had to climb back up those hills. The family unloaded and we started our hike.

B7QLGv9h.jpg


aQX2nmhh.jpg


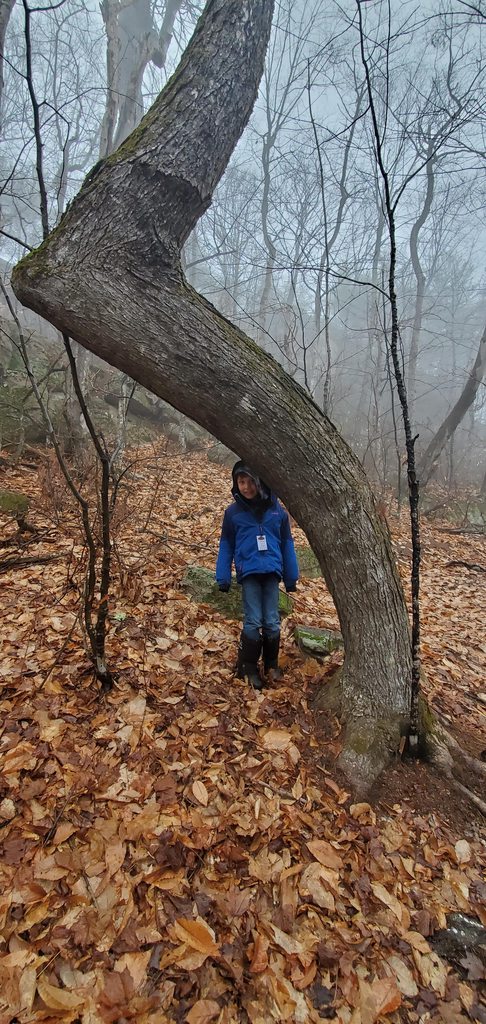
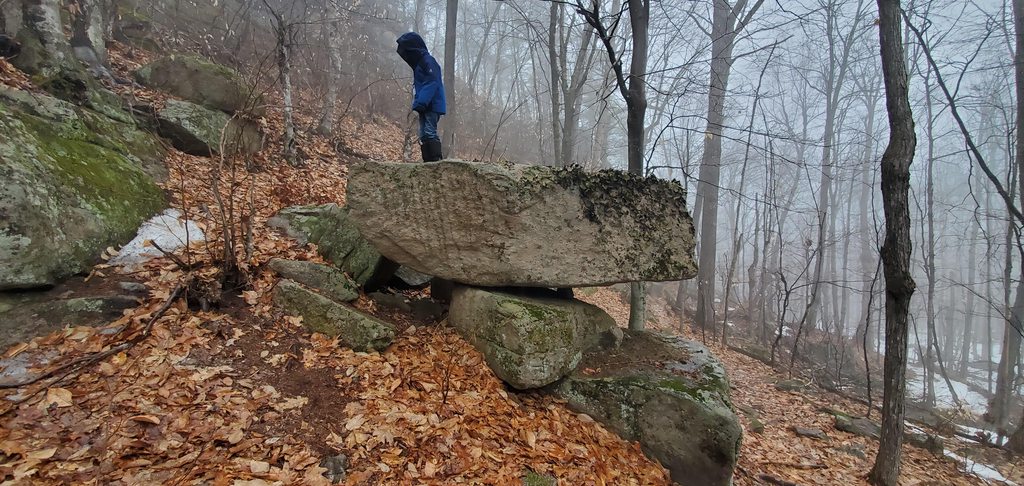
For some reason there are a lot of really interesting rocks and trees along the hike here.

k6bpYzCh.jpg


qIPbgDch.jpg


We made it to the cliff ledge.

LnYQXAPh.jpg


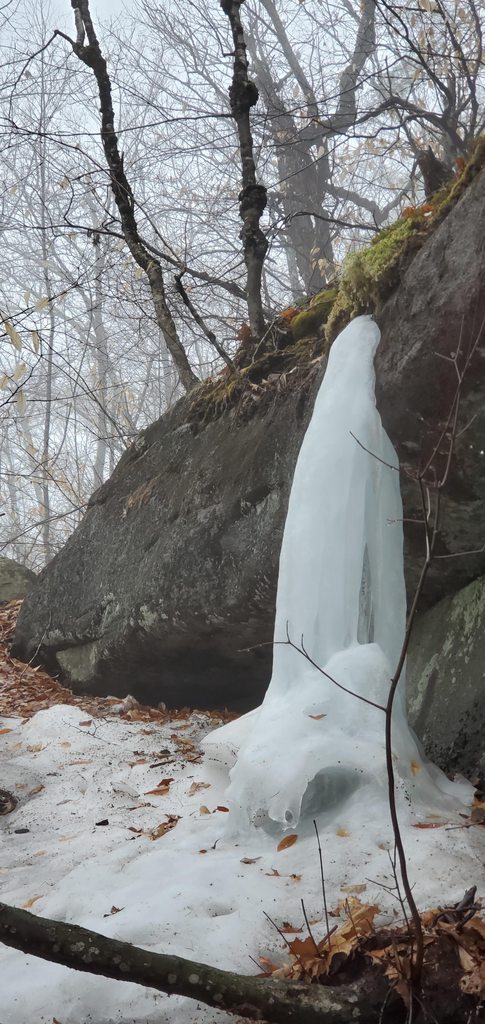
If we came a little earlier, all the cliffs would be covered in ice. This little frozen stream waterfall was one of the few still hanging on.
BiEUVH6h.jpg


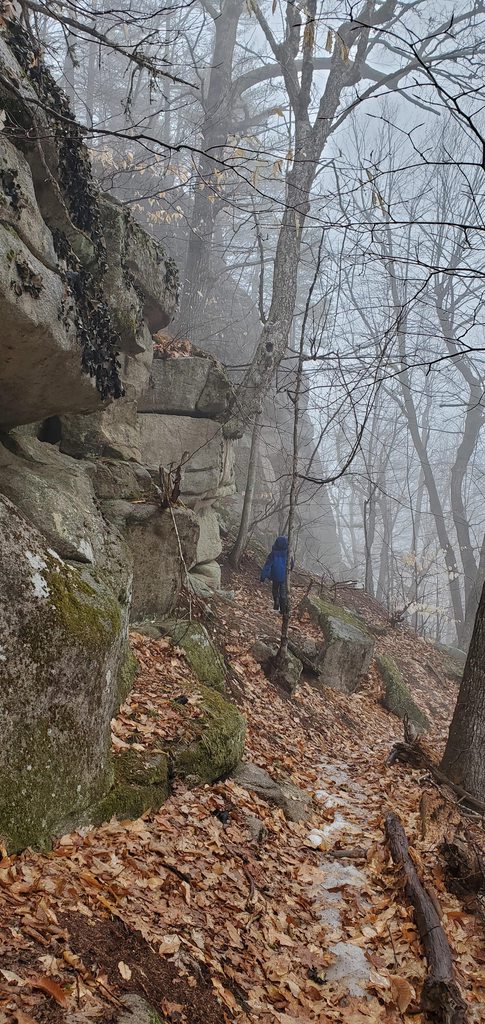
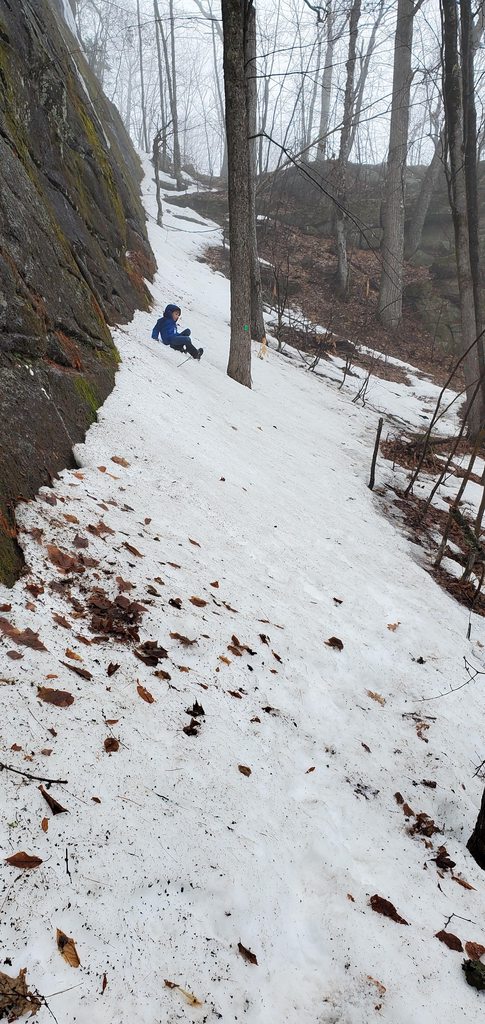
You can see a fallen one on the trail here... the trail was icy most of the way. We had to be really careful.
erR7FrJh.jpg


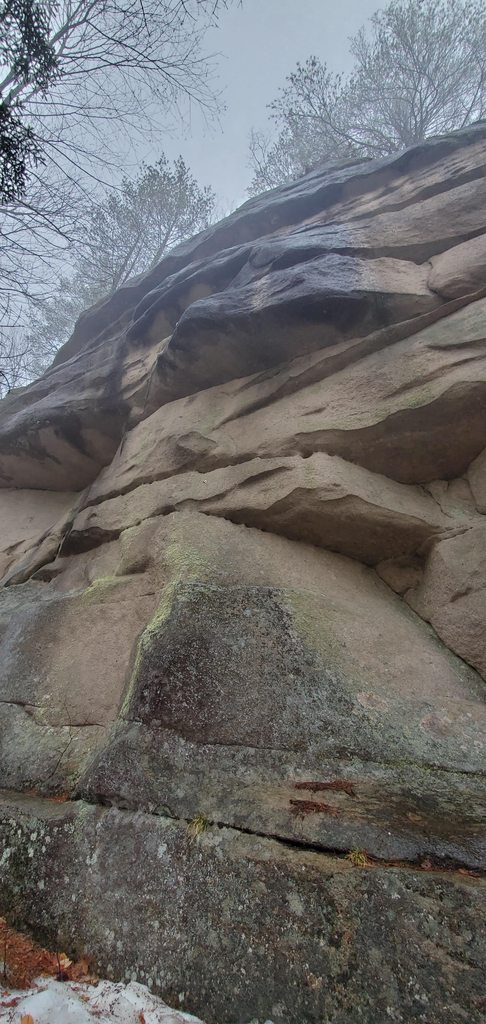
Rock climbers use this spot... you can see anchors

ViaVyf6h.jpg


We had to work our way around ice. Shorty found a good path for us to follow:

ExEyA6Bh.jpg


As we hiked, we realized there was no way we were going to make our way to the mouth of the cave... there was just too much ice for the rock climbing portion. So we opted to look for the vertical shaft at the top of the cave. Shorty and I were the only ones that made this part of the trip. He started his way up the hill, promptly falling and sliding all the way down to the bottom.

KlPBNvlh.jpg


We made our way up along the cliffs

5FLpYvTh.jpg


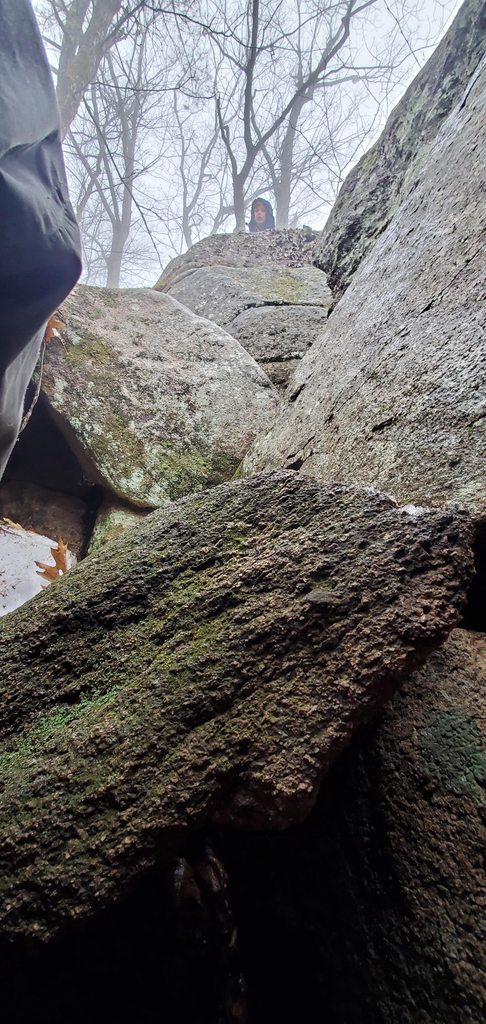
Finally reaching the top

F89DKMGh.jpg


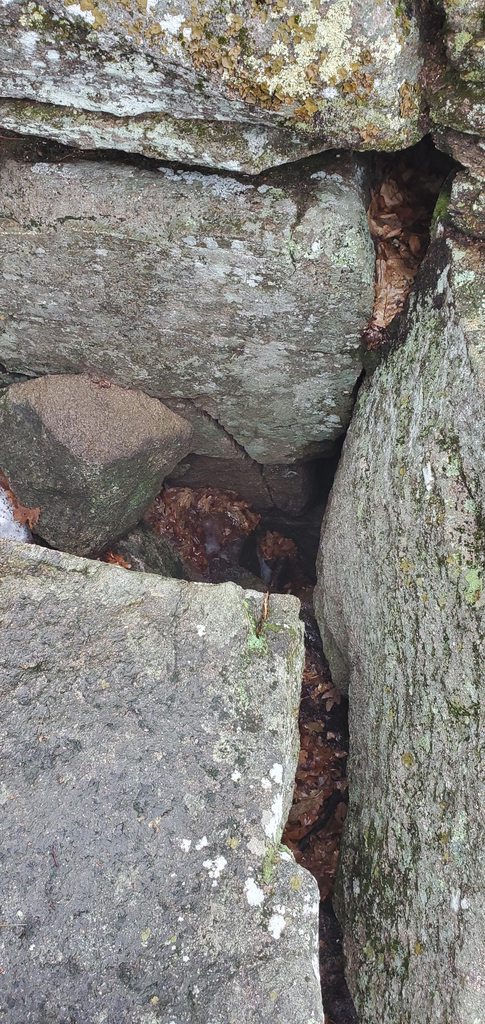
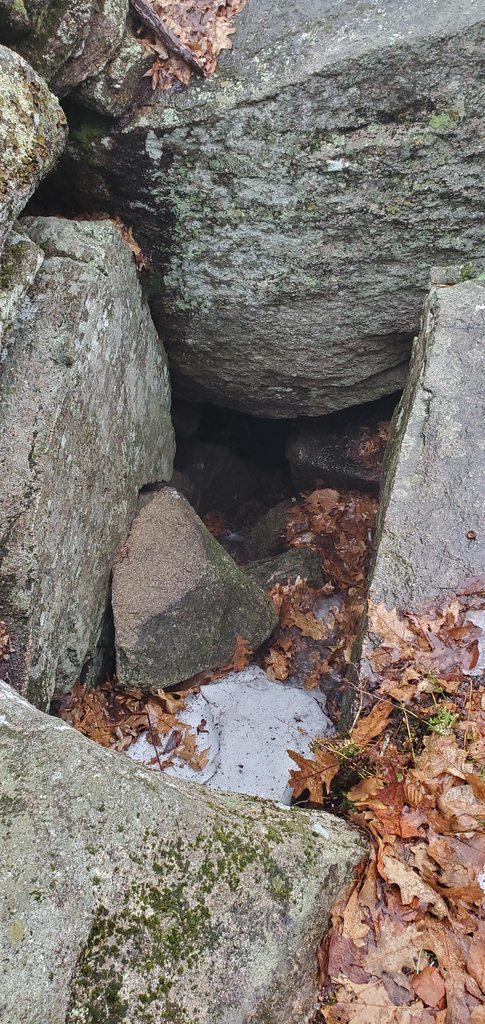
Nutnut the dog is actually the one that found the opening... its pretty unassuming

peCTsYNh.jpg


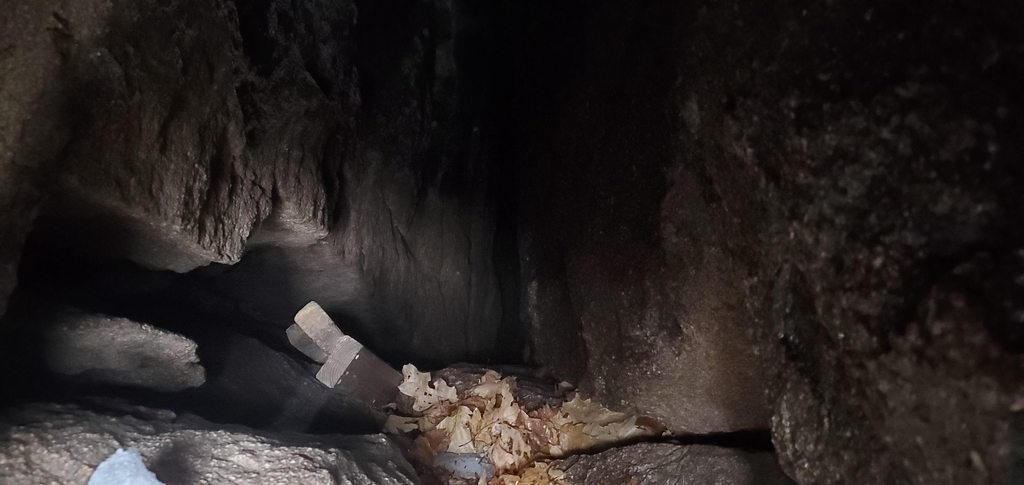
I tossed a piece of ice which bounced it's way down to the bottom. I'd guess 30 or 40 feet... maybe more. I decided to climb down a little way to see if I could see anything more.

JKSP8gVh.jpg


I found the top of the old ladder which was still somewhat fastened to the rock wall. In the early 1800s, this place was somewhat popular to visit and the ladder appears to be fairly old. You can see the top of it here:

LcfyIxuh.jpg


It was a straight drop down and the ladder was in no condition to use. I had played my chances enough for 1 day and climbed back up.

fh7KOaBh.jpg


Apparently, I didn't upload any pictures of the drive back out but we got some decent wheel spin in a couple of places. I'm glad I have the limited slip rear end, it helped a lot. Anyway, we had a fun adventure in the truck and that's the important part.
 

Lumpskie

Well-Known Member
Joined
Nov 11, 2021
Messages
261
Reaction score
440
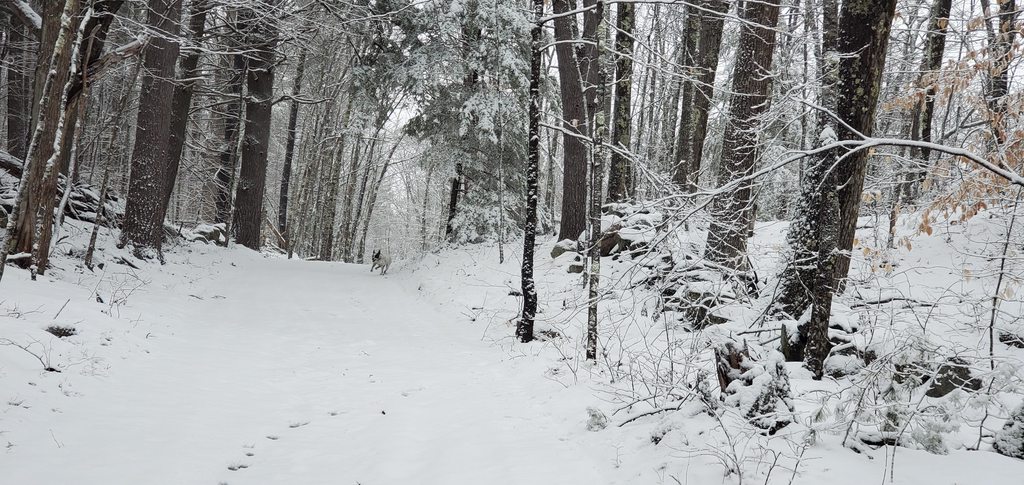
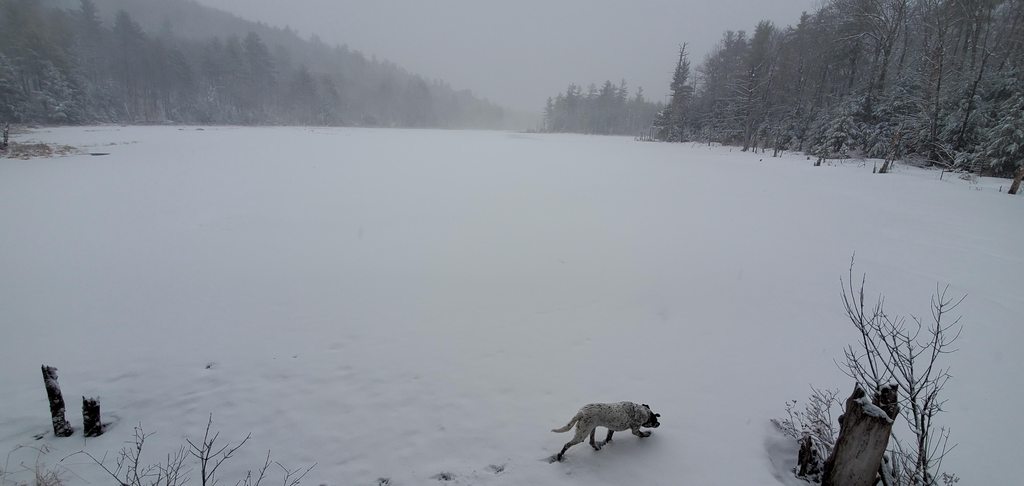
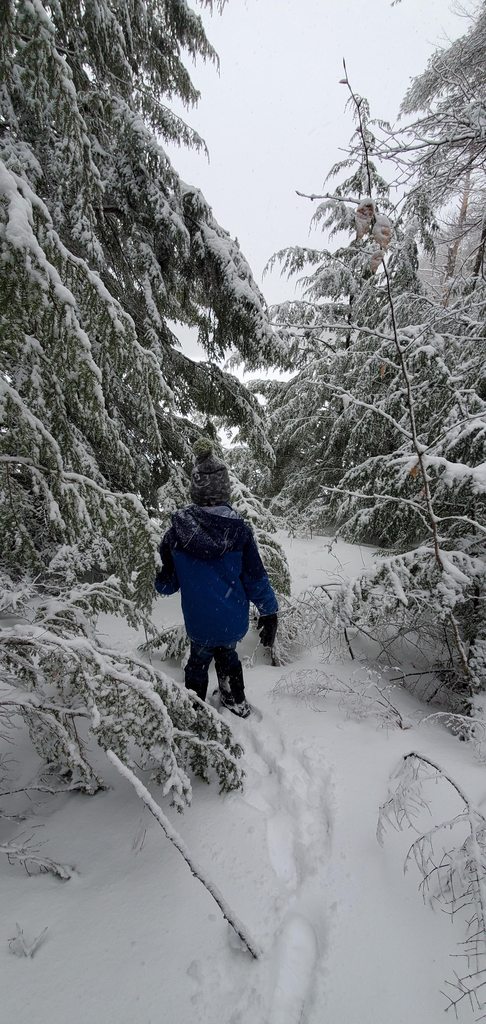
I went out on another little adventure with my boy in the Ram and got to try the tires in deeper snow. I drove the truck through some dirt roads and parked it at a trailhead to do a short hike.

blWVXGe.jpg


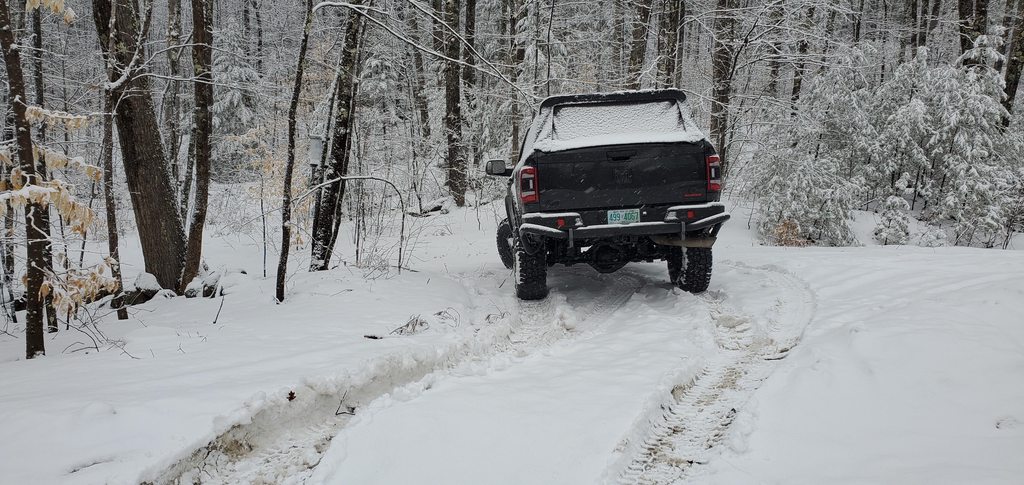
Originally, I had it parked on the side of the road, like this:
nfy0NcXh.jpg


The snow was only 6 inches deep and I couldn't even get the tires to spin at that depth.

GxofWzfh.jpg


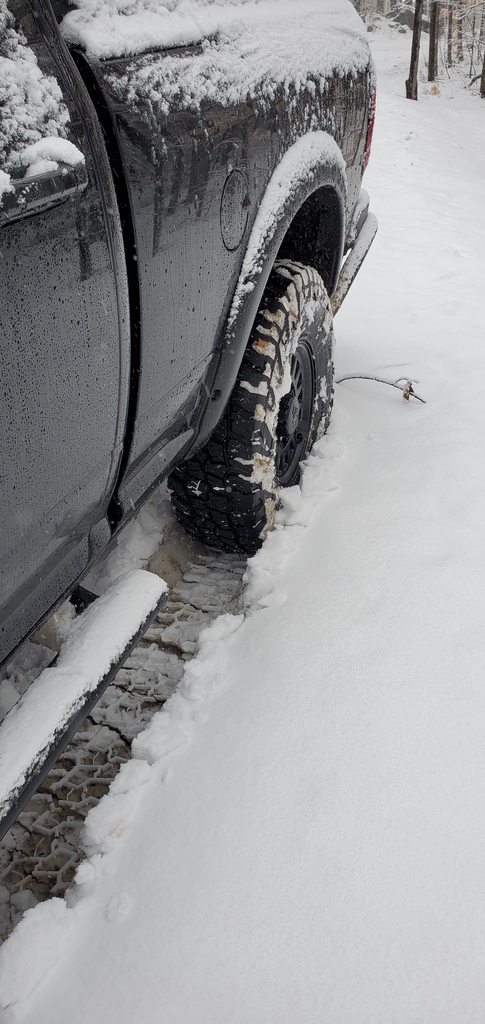
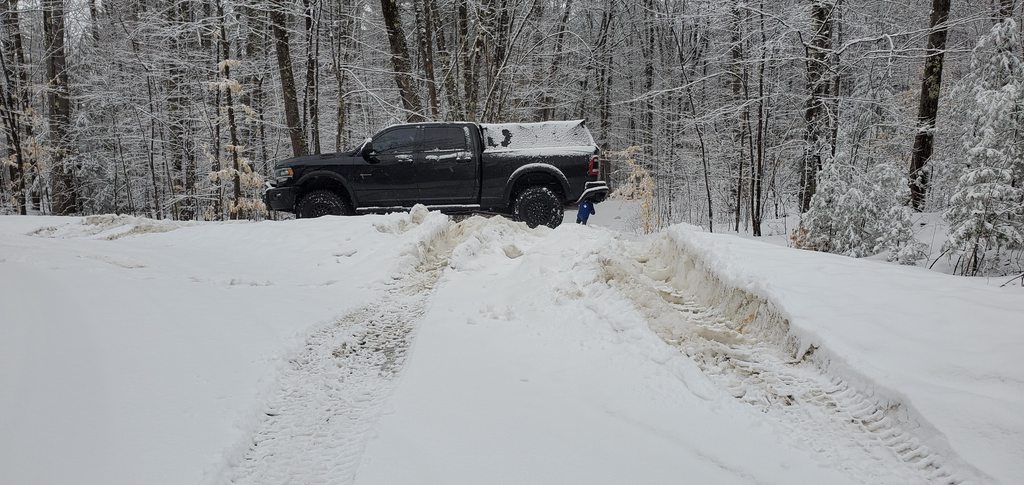
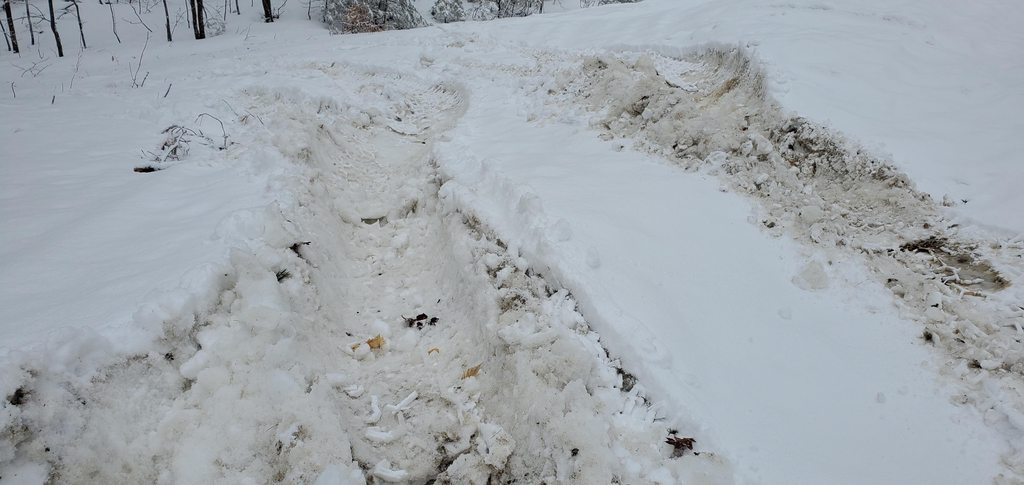
Then, I worried about someone driving through and accidentally hitting it. So, I decided to drive through the snow berm and park on the trailhead itself. The snow depth was above my knee with a combination of hard ice, wet snow and slush. The new tires did awesome... they bit hard enough to grab traction and spinning them let then evacuate the snow well. I did notice that the front tires would grip then slide then grip a bit. I don't think this was really a wheel hop issue but I did have to manage my throttle a bit. I'm not sure if the power wagon radius arm contributed to this, but I have seen power wagon guys complain about this behavior. Anyway, I plugged through the deep snow really well.

9XxBwekh.jpg


HGjAMxgh.jpg


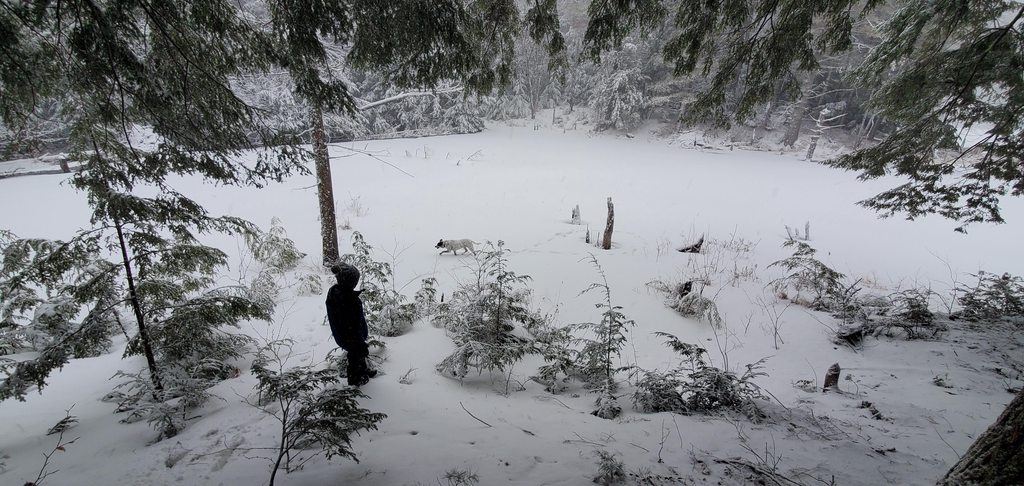
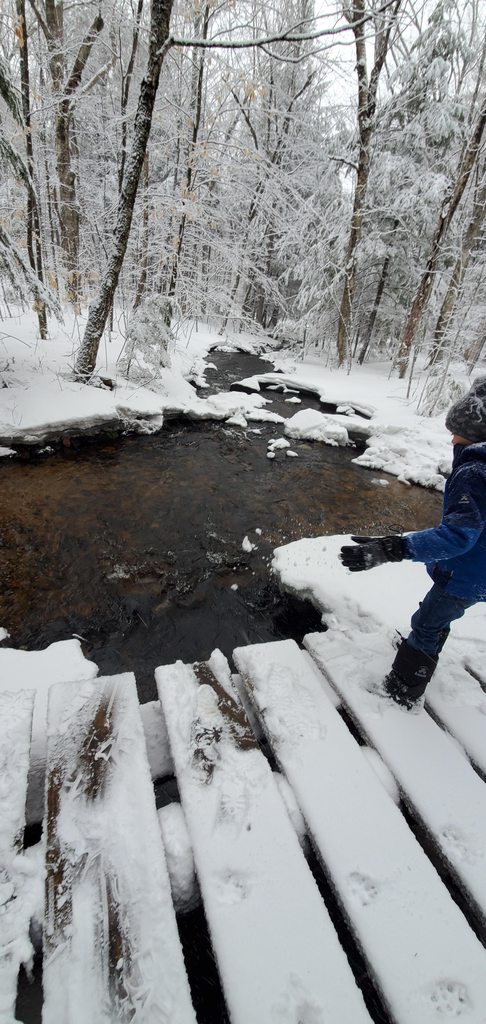
From there we did a short hike to a beaver pond and a river near there.

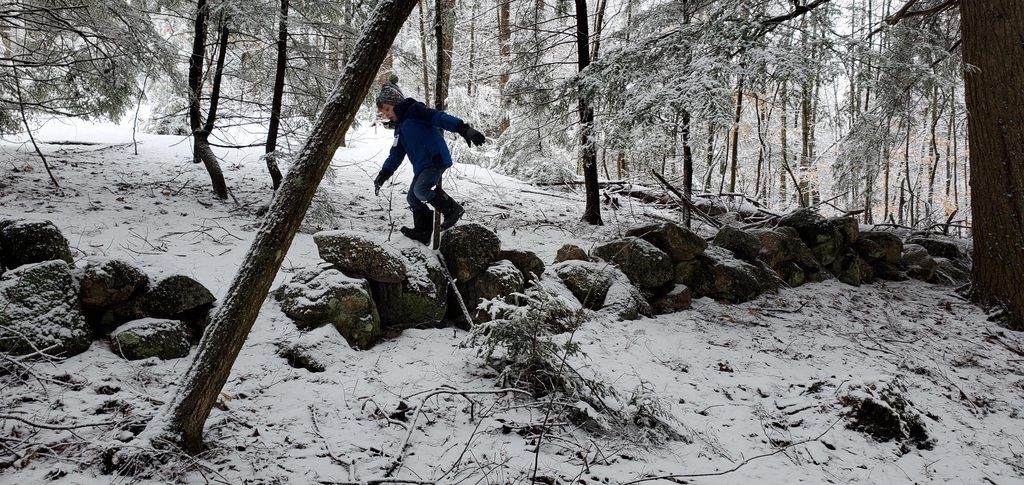
Climbing old stone walls
AoPjLyAh.jpg


The dog... being a dog
Qg3CqMBh.jpg


The pond
T0ZVgyWh.jpg


Looking at the dam
95uQbo6h.jpg


Exploring
MKrJH73h.jpg


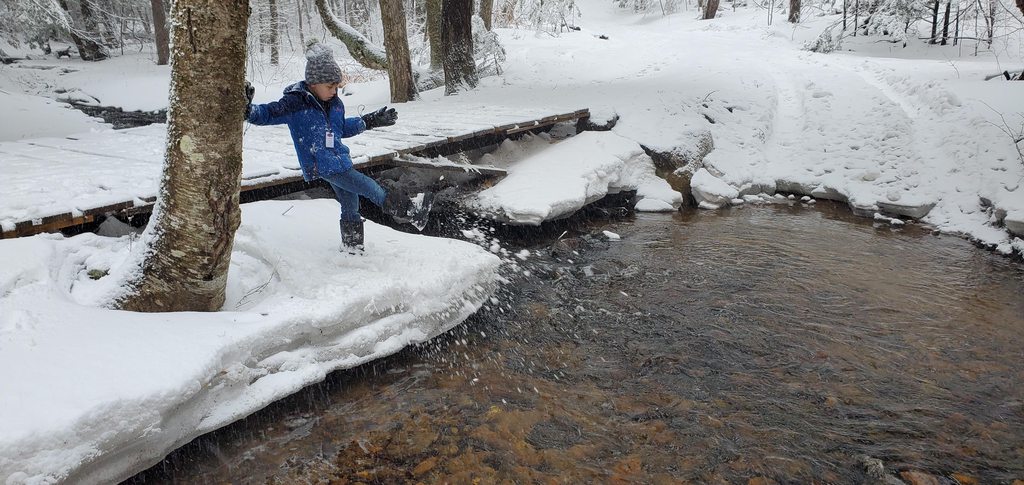
The creek.... still mostly frozen

iIhngmth.jpg


lBAEe9ch.jpg


Heading home...

954z4znh.jpg


jDrMpiHh.jpg


r3SGDFAh.jpg


0xE7nDph.jpg


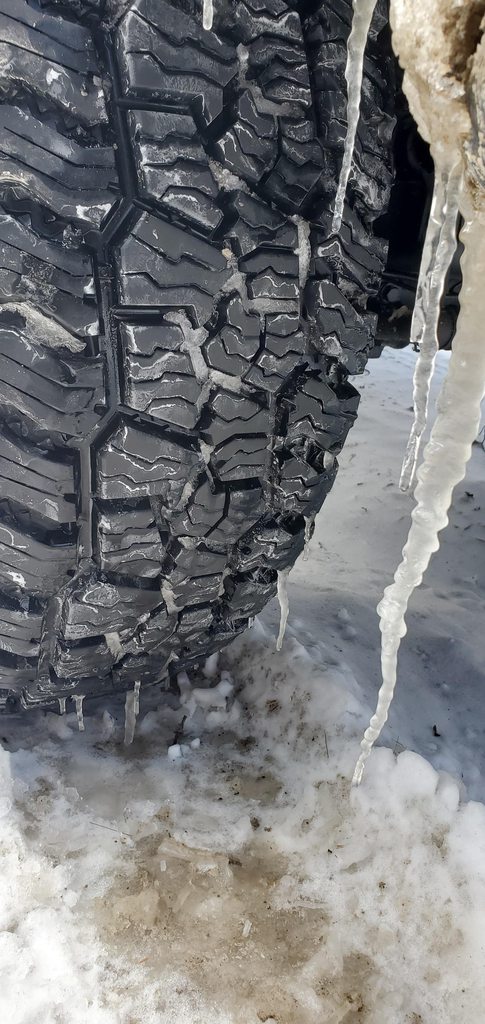
Closeup of the tires after they sat over night
wVOHzelh.jpg


Tired dog
eoXDbdzh.jpg
 

Lumpskie

Well-Known Member
Joined
Nov 11, 2021
Messages
261
Reaction score
440
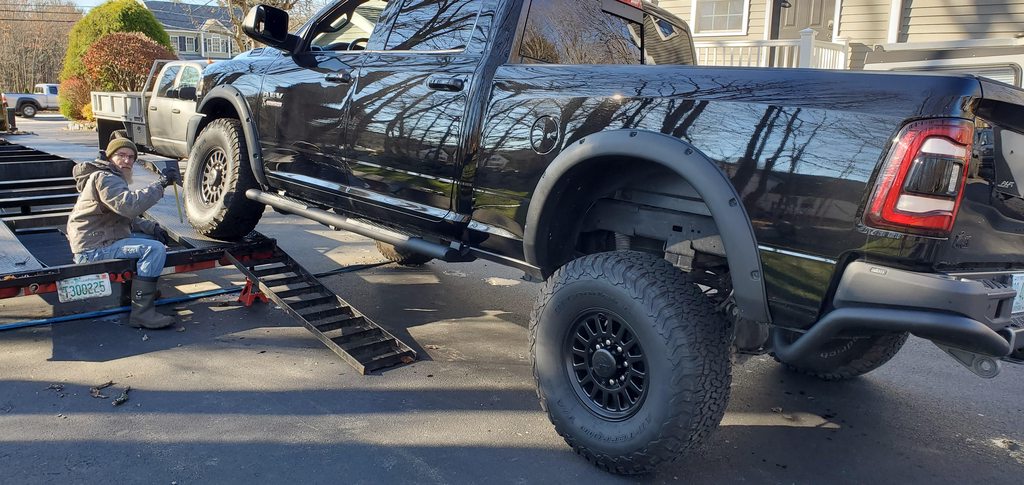
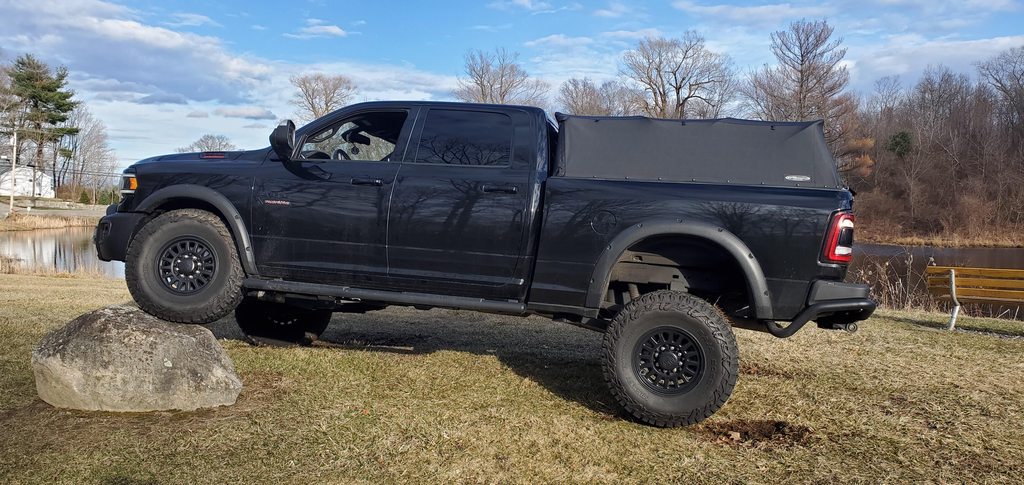
Ok, I finally got a warm and dry day to climb under the truck and pull my front swaybar off. It was a little tricker than I expected because there were some AEV brackets to navigate around and the rubber boot of the endlink needed a lot of persuasion to get free. At any rate, I got it off and got some "informal" comparisons to show the difference a single articulink arm makes.

(Summary: With stock arms, I climbed 19.5 inches on a ramp. With the articulink, I climbed roughly 24 inches on a rock... I didn't bring a tape measure)

Here's a review of my "Before"... note the position of the front tire in the wheel well:

zVSZPhrh.jpg


Here's after... you can see more compression in the front.
6IRVTJ4h.jpg


Alternate view.

Before:
daXOE5Zh.jpg


After... more extension: (sorry... pic was taken almost directly into the sun)
4UkiUkYh.jpg


At this point, I am noticing that the rear is limited by the fact that the springs are so stiff on compression and by shock length on extension.

TZ3bN1Gh.jpg


6AjLS7fh.jpg


I am really trying to use self control and tell myself that this isn't a rock crawler... it can haul... it can tow... I don't need to mess with the suspension any more.
 

UglyViking

Well-Known Member
Joined
Jul 11, 2020
Messages
1,304
Reaction score
1,591
I'd be curious if the right side also articulated as good as the left, or if there is some difference between the two.

I completely hear what you're saying on the rock crawler vs balanced rig, always a trick to keep is in that sweet spot. I think that if you don't mind adding bags to supplement then softer, extended travel springs are well it. That said, I don't believe that most aftermarket spring options work with AEVs spacer style lift. That means you're gonna be changing out an entire lift kit for a suspension swap. I don't know how "worth it" that would be. I should take mine up a ramp and compare to give you some numbers.
 

Users who are viewing this thread

Top