
I just reach around the panel and jack and undo them. It is a pain in the ass, but for the rare times I need the jack it works out. Besides, if I need the jack I'm already having a ****ty day... what is a little more **** piled on top? lol Heck, even my fridge is in the way and would have to be slid back and forth to get to the jack. If you would like to check it out to see it would work for you, we can meet up sometime.How do you access the wingnuts to get the Hi-Lift out? I'm looking at getting a Hi-Lift and this looks like a great idea.
Ram Heavy Duty Forum
You are using an out of date browser. It may not display this or other websites correctly.
You should upgrade or use an alternative browser.
You should upgrade or use an alternative browser.
Etoimos' 2022 Power Wagon Build
- Thread starter Etoimos
- Start date
akguy09
Member
you must have been near my house the other day, I am sure that you passed me, you're truck is quite unique.
What area would that have been?you must have been near my house the other day, I am sure that you passed me, you're truck is quite unique.
I got a little more done this past weekend, starting with my tradition of marking the trails and trips I have done with badges in the shape of an xiphos (ancient Greek sword). This tradition started back in my Jeep days and the Power Wagon is my third vehicle to feature them. I engrave and cut these on my laser out of 1/4" black over silver acrylic. They have 3M adhesive on the back, so they are easy to remove it the time should ever come for that. The first step in the process is to find the best location for them and align everything so they are straight and level.

Then it is just cleaning the area where they are going and sticking them on.


The acrylic is used in the sign industry and will not fade and stays attached to the vehicle for years.
Then it is just cleaning the area where they are going and sticking them on.
The acrylic is used in the sign industry and will not fade and stays attached to the vehicle for years.
Last edited:
Trail_Wagon
Well-Known Member
- Joined
- Dec 3, 2021
- Messages
- 254
- Reaction score
- 603
Cool!I got a little more done this past weekend, starting with my tradition of marking the trails and trips I have done with badges in the shame of an xiphos (ancient Greek sword). This tradition start back in my Jeep days and the Power Wagon is my third vehicle to feature them. I engrave and cut these on my laser out of 1/4" black over silver acrylic. They have 3M adhesive on the back. so they are easy to remove it the time should ever come for that. The first step in the process is to find the best location for them and align everything so they are straight and level.
View attachment 43418
Then it is just cleaning the area where they are going and sticking them on.
View attachment 43421
View attachment 43420
The acrylic is used in the sign industry and will not fade and stays attached to the vehicle for years.
Hibiki54
Active Member
That in of itself is bad ass.I got a little more done this past weekend, starting with my tradition of marking the trails and trips I have done with badges in the shame of an xiphos (ancient Greek sword). This tradition start back in my Jeep days and the Power Wagon is my third vehicle to feature them. I engrave and cut these on my laser out of 1/4" black over silver acrylic. They have 3M adhesive on the back. so they are easy to remove it the time should ever come for that. The first step in the process is to find the best location for them and align everything so they are straight and level.
View attachment 43418
Then it is just cleaning the area where they are going and sticking them on.
View attachment 43421
View attachment 43420
The acrylic is used in the sign industry and will not fade and stays attached to the vehicle for years.
Link to this alleged laser thingy?
Well, the laser thingy is in my house. lol. I used to have an online business where I made game accessories and various items for Jeep guys. These trail badges were one of my products. That business led to my wife starting her own online laser based business. So now we have two lasers and sometimes I still get to use one of them. lolThat in of itself is bad ass.
Link to this alleged laser thingy?
Trail_Wagon
Well-Known Member
- Joined
- Dec 3, 2021
- Messages
- 254
- Reaction score
- 603
That looks about rightFor anyone interested, I updated the first post with the MPG logs through today.
akguy09
Member
What area would that have been?
Around Curtis Road and HWY 94...Eastern Colorado Springs/Falcon
Yeah, that would have been me.Around Curtis Road and HWY 94...Eastern Colorado Springs/Falcon
Over that last week I was also able to wrap up the lighting system in the SmartCap. Following in the footsteps of several other builds I monitor on various forums, it turned to HardKorr to meet these needs. Their clean interfaces and flexibility were the main reasons I went with them. For my build I ordered three 48cm (19") light bars for the main cap area and two 25cm (10") light bars, one for each side.

For anyone looking for the info, the cables on the 19" bars are 12" long and about 8" long on the 10" bars.

These light bars come with built in magnets for mounting. You can see them between the black squares along the center line at either end of the bar.

Four of the five bars that I order held really well via the magnets, but one of the 10" bars could barely support its own weight. I thought that was going to less than ideal in the offroad conditions I like to travel in, so I backed each bar with Velco. The Velco I had was a little too wide, so it had to be trimmed down to fit the width of the bar with a sharp razor blade.

With the bars all prepped it was just a matter of mounting them where I wanted them and then running the cables back to the electrical half bin. The light bars are designed to use a cigarette light for power, so I had to chop those off to hard wire them into the Blue Sea Systems fuse block that I installed during this processes.

I'm not 100% happy with some of the wiring, so I'll most like redo those parts when I have some more time. Otherwise, I'm pretty happy with the clean install and location of the controllers for each of the three sets of lights.


For anyone looking for the info, the cables on the 19" bars are 12" long and about 8" long on the 10" bars.
These light bars come with built in magnets for mounting. You can see them between the black squares along the center line at either end of the bar.
Four of the five bars that I order held really well via the magnets, but one of the 10" bars could barely support its own weight. I thought that was going to less than ideal in the offroad conditions I like to travel in, so I backed each bar with Velco. The Velco I had was a little too wide, so it had to be trimmed down to fit the width of the bar with a sharp razor blade.
With the bars all prepped it was just a matter of mounting them where I wanted them and then running the cables back to the electrical half bin. The light bars are designed to use a cigarette light for power, so I had to chop those off to hard wire them into the Blue Sea Systems fuse block that I installed during this processes.
I'm not 100% happy with some of the wiring, so I'll most like redo those parts when I have some more time. Otherwise, I'm pretty happy with the clean install and location of the controllers for each of the three sets of lights.
Trail_Wagon
Well-Known Member
- Joined
- Dec 3, 2021
- Messages
- 254
- Reaction score
- 603
Love it!Over that last week I was also able to wrap up the lighting system in the SmartCap. Following in the footsteps of several other builds I monitor on various forums, it turned to HardKorr to meet these needs. Their clean interfaces and flexibility were the main reasons I went with them. For my build I ordered three 48cm (19") light bars for the main cap area and two 25cm (10") light bars, one for each side.
View attachment 43622
For anyone looking for the info, the cables on the 19" bars are 12" long and about 8" long on the 10" bars.
View attachment 43623
These light bars come with built in magnets for mounting. You can see them between the black squares along the center line at either end of the bar.
View attachment 43624
Four of the five bars that I order held really well via the magnets, but one of the 10" bars could barely support its own weight. I thought that was going to less than ideal in the offroad conditions I like to travel in, so I backed each bar with Velco. The Velco I had was a little too wide, so it had to be trimmed down to fit the width of the bar with a sharp razor blade.
View attachment 43626
With the bars all prepped it was just a matter of mounting them where I wanted them and then running the cables back to the electrical half bin. The light bars are designed to use a cigarette light for power, so I had to chop those off to hard wire them into the Blue Sea Systems fuse block that I installed during this processes.
View attachment 43629
I'm not 100% happy with some of the wiring, so I'll most like redo those parts when I have some more time. Otherwise, I'm pretty happy with the clean install and location of the controllers for each of the three sets of lights.
View attachment 43630
View attachment 43631
View attachment 43632
Below is a bunch of photos showing the lights in action...
Driver's side electrical half bin closeup.

Driver's side electrical half bin showing the amount of light spill.

Driver's side electrical half bin showing the white light setting.

Passenger side On Board Air half bin open.

Passenger side On Board Air half bin closed.

Main cap area lit in amber mode and the tailgate closed.

Main cap area lit in amber mode with tailgate open.

Main cap area in white LED mode with tailgate open.

And finally with the main area and a side opened up in amber mode.

Driver's side electrical half bin closeup.
Driver's side electrical half bin showing the amount of light spill.
Driver's side electrical half bin showing the white light setting.
Passenger side On Board Air half bin open.
Passenger side On Board Air half bin closed.
Main cap area lit in amber mode and the tailgate closed.
Main cap area lit in amber mode with tailgate open.
Main cap area in white LED mode with tailgate open.
And finally with the main area and a side opened up in amber mode.
Another part of the light install and general wiring clean was to shorten the Renogy temp probe cable and Blue Tooth module cables. The temp probe was pretty straight forward. I just had to cut the cable to length and terminate the new end with some Deutsch connector pins and put the original connector on those. the BT module was a different story. For it Renogy used an RJ11 (old style 6pin phone wiring) connector. It had been 20+ years since I had to terminate this kind of connecter in my Air Force days. I also no longer had the tools to do this type of work. A quick shout out to another local PW owner that is in the IT field solved the lack of tools issues and $3 on Amazon got me 50 RJ11 connectors. Since I was removing roughly 15 feet of excess cable and had all those extra connectors, I practiced getting a good connection a few times and checked my work.


Once I felt I had the skills not to F it up, I crimped the connector on the shortened cable and plugged everything back in. To my relief, both the temp probe and BT module worked and the cabling was much improved.
That's it for this round of updates to the build. Now it is time to take the rig out for four days of family camping and test everything out in the wild.
No I do not. The only thing connected to my truck's battery is the ARB compressor and the Switch Pro it self. The fridge and the SmartCap lights are all on the separate electrical system in the bed. The 100w solar panel and 50ah battery has been more than enough to keep those running... provided I don't leave the truck in the garage for more than about 36 hours. The fridge will drain the battery to below its cutoff point in that amount of time.Do you have a DC charger somewhere?
Sent from my iPhone using Tapatalk
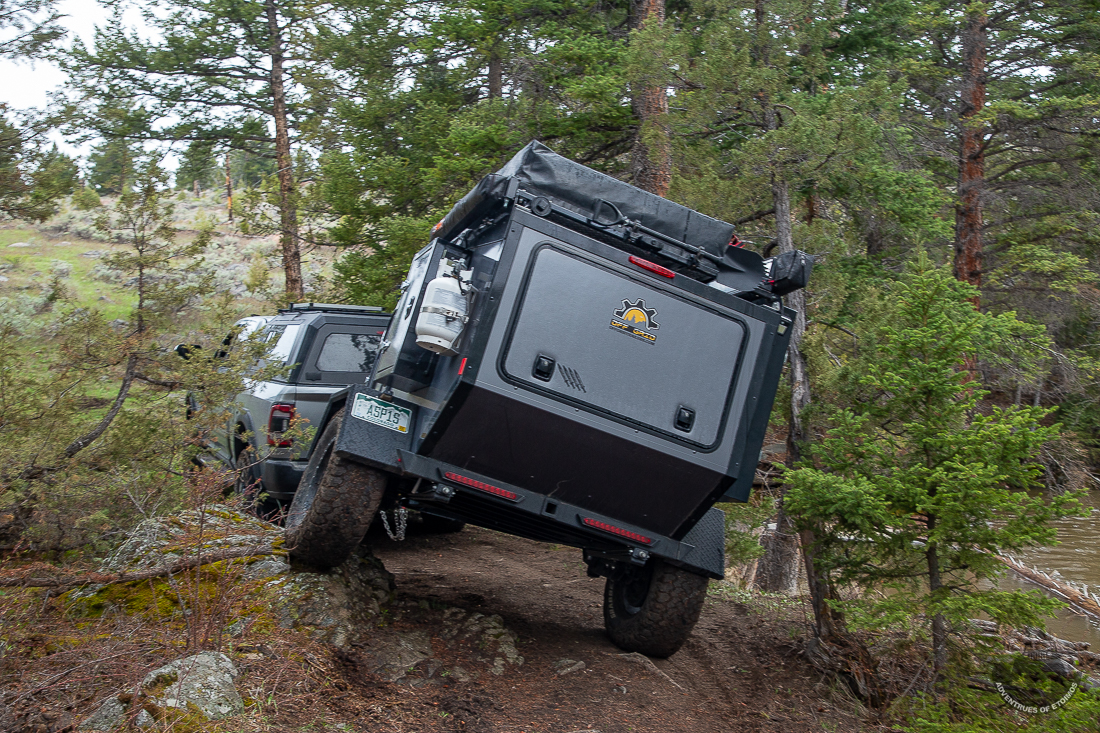
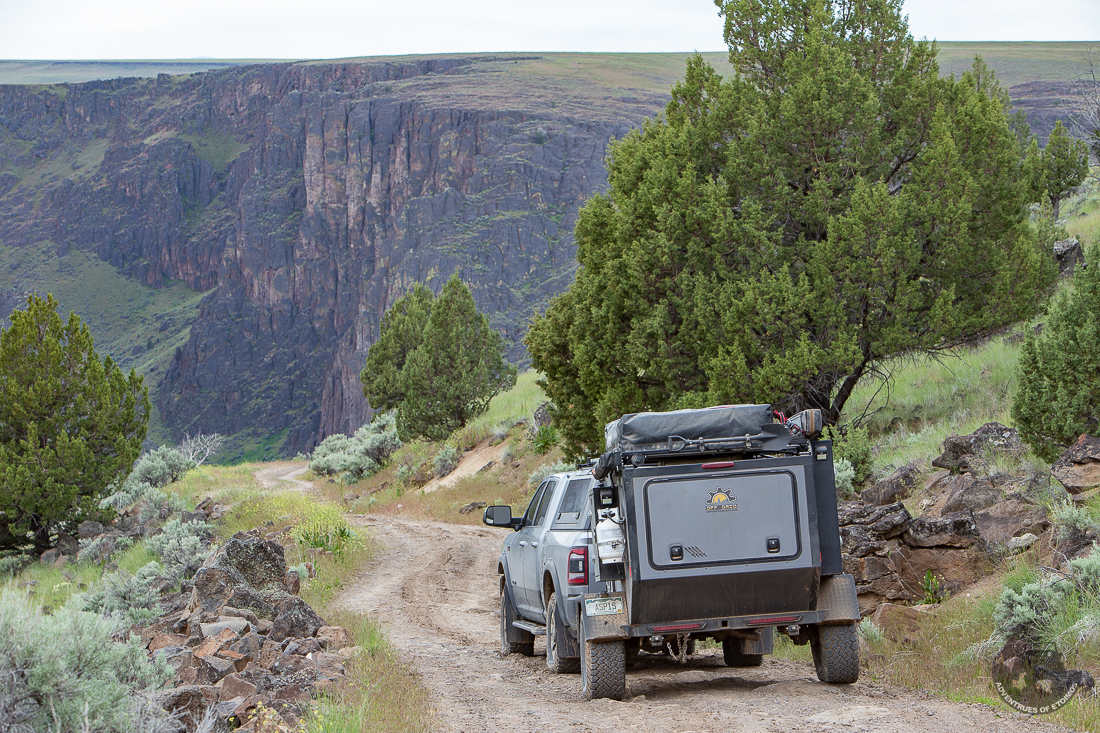
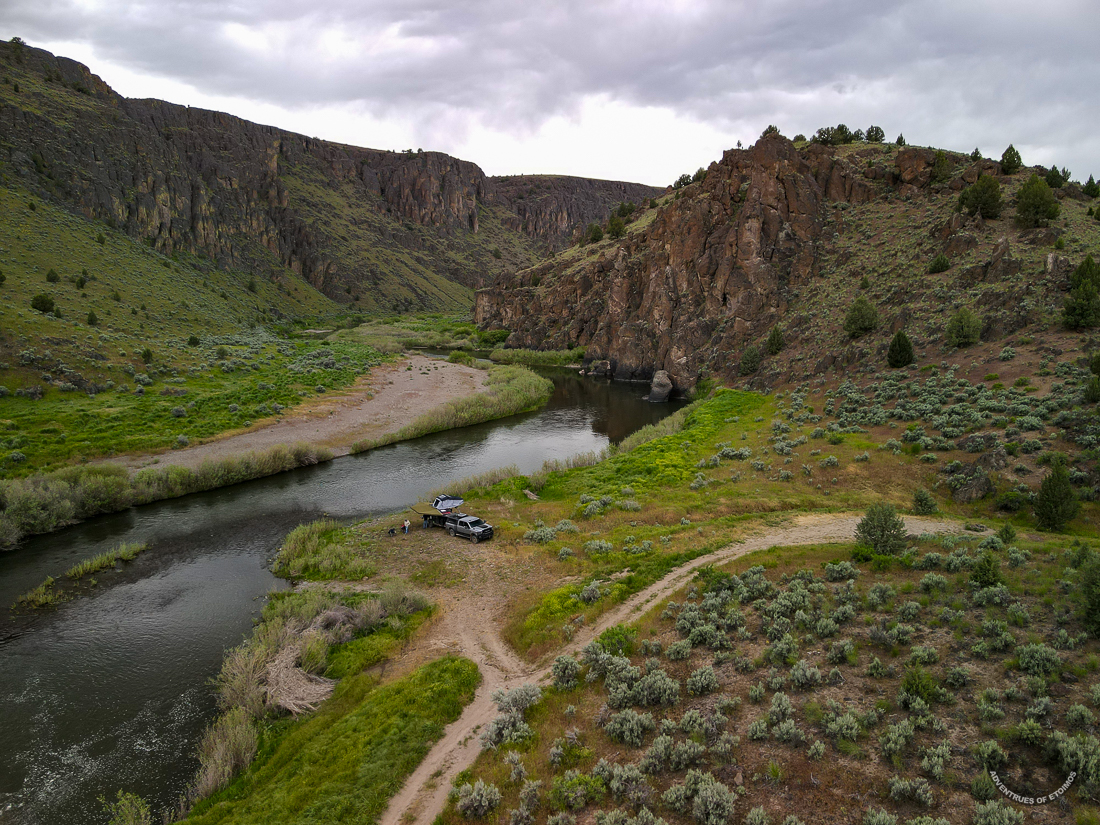
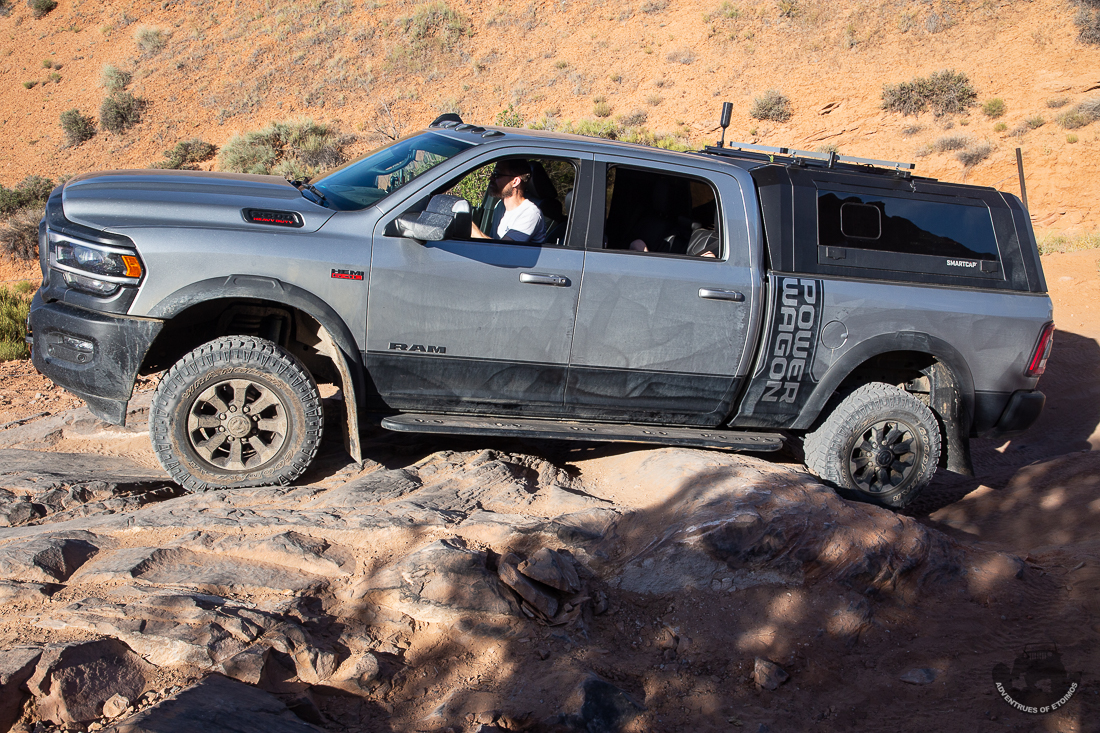
Below is a small sample of photos taken from this year's Great Western Loop adventure. If you are interested, you can read and see more about it in my Adventures of Etoimos thread.
Thanks!Very cool! Great pics
Users who are viewing this thread
Total: 3 (members: 0, guests: 3)