Ram Heavy Duty Forum

Register a free account today to become a member! Once signed in, you'll be able to participate on this site by adding your own topics and posts, as well as connect with other members through your own private inbox!

4500 Camper/Jeep Hauler Build

Pearce

Active Member
Joined
Jul 11, 2022
Messages
108
Reaction score
221
Location
Orlando, FL
3M 4200 may be an option. Works great on everything boat related to keep water out.
 

gprguy

Well-Known Member
Joined
Apr 14, 2022
Messages
539
Reaction score
1,254
Location
Kitsap Peninsula, WA
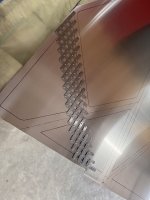
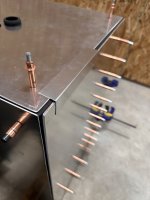
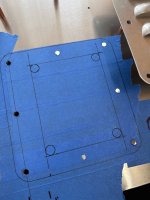
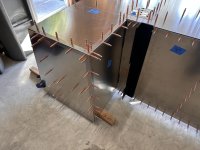
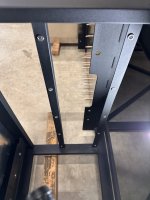
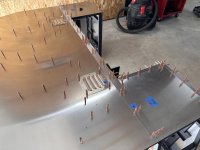
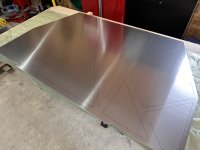
Pretty tedious stuff today but it needs doing. I traced out the frame bars on the inside of the panel:

IMG_5989.jpeg

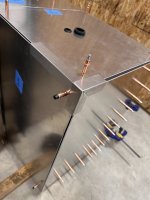
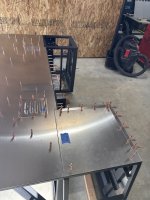
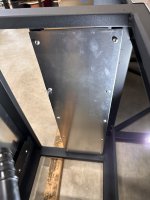
So I could spend a while laying out lines and nicely spaced dots for rivets.

IMG_5990.jpeg

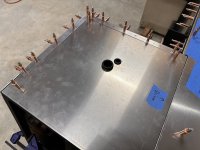
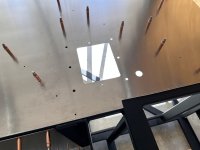
Then, all the drilling.

IMG_5991.jpeg

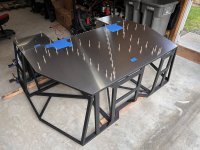
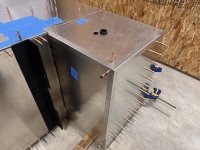
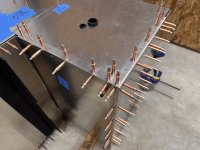
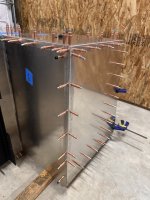
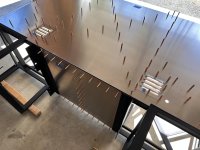
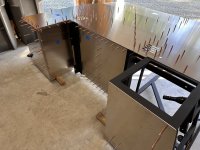
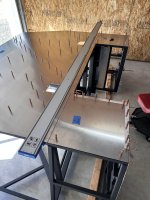
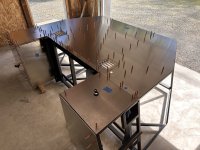
And here we are, after putting it back on the frame and drilling a hundred more holes.

IMG_5992.jpeg

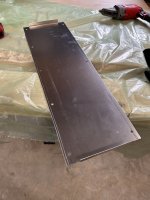
IMG_5993.jpeg

Hopefully I can get some aluminum sheared up tomorrow so I can start experimenting with trim. Probably won't be any actual work to update on till the weekend.
 

Scooter29

Well-Known Member
Joined
Mar 20, 2021
Messages
293
Reaction score
452
Wheeling was fun, went with some folks from a local club to Tahuya forest.

View attachment 70686

And yes, that Ram Rebel went with us the whole way. She was a great driver even though we ended up on some trails that rig didn't belong on, and unfortunately she did not escape without some cosmetic damage.

Climbed up Yellowjacket which was a blast. There was a puddle at the bottom before the first set of slabs that made things a bit tricky at first. The Ram did not go up Yellowjacket. :p

View attachment 70687

Got hung up a few times but made it top the top with no winching or straps.

Back to work today. I made the other bottom panel out of the .125.. And apparently didn't take a photo, that seems to be a theme. Anyway it looks the same as the other side.

Then it was on to the first bent panel. I am pushing my brake too hard with this .063.. Hopefully it holds together. I'm definitely going to have to make the corner trim out of something thinner.

After a lot of measuring and some test bends, here's the panel.

View attachment 70688

Was a little tricky to make - I kind of screwed myself on that inside bend, there are fillet welds there so I couldn't just do an easy 90 - had to do two closely spaced 45's. But it fits.

View attachment 70689

View attachment 70690

Now I need to make the same for the other side and then get it pinned in place with some clecos. Still waiting for my order of rivets to show up, they are late..
Tahuya is a fun spot, we take our Samurai there and cruise around the trails with the kids. We usually park and watch the built rigs climb up the big obstacles. The last weekend and up to Tuesday were nice weather to go out.
 
Last edited:

jsalbre

Well-Known Member
Joined
Oct 29, 2019
Messages
2,570
Reaction score
3,280
Location
ID
Have you considered putting a bead of sealant on the frame before riveting on the sheets? I’d think you’d end up with a better seal than just putting a bead from the outside.
 

gprguy

Well-Known Member
Joined
Apr 14, 2022
Messages
539
Reaction score
1,254
Location
Kitsap Peninsula, WA
Have you considered putting a bead of sealant on the frame before riveting on the sheets? I’d think you’d end up with a better seal than just putting a bead from the outside.
Oh definitely, that is my plan. I mainly want to make sure no moisture makes its way into the inside of the steel frame via the rivet holes. I am debating whether to also put a bead under the corner trim, there's probably no real point and it may end up causing more mess/lumpiness than it's worth.
 

jsalbre

Well-Known Member
Joined
Oct 29, 2019
Messages
2,570
Reaction score
3,280
Location
ID
Oh definitely, that is my plan. I mainly want to make sure no moisture makes its way into the inside of the steel frame via the rivet holes. I am debating whether to also put a bead under the corner trim, there's probably no real point and it may end up causing more mess/lumpiness than it's worth.
Hmm, what about butyl rubber tape like you use on rv roof vents?
 

gprguy

Well-Known Member
Joined
Apr 14, 2022
Messages
539
Reaction score
1,254
Location
Kitsap Peninsula, WA
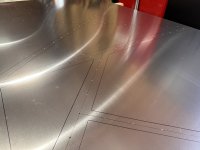
Ended up stuck at work most of the day, but I still fit in some garage time. Started by making some test trim pieces out of some .032 aluminum I sheared into 2" wide strips.

IMG_5994.jpeg

IMG_5995.jpeg

Seems ok to me, might as well dive in. First couple pieces bent up and test fit.

IMG_5996.jpeg

Marked up, drilled:

IMG_5997.jpeg

And "done":

IMG_5998.jpeg

IMG_5999.jpeg

IMG_6001.jpeg

I'm pretty happy with that. Need to do the same for the other side tomorrow and then figure out my next move. Probably finishing up the vents.
 

gprguy

Well-Known Member
Joined
Apr 14, 2022
Messages
539
Reaction score
1,254
Location
Kitsap Peninsula, WA
Another beautiful day in the PNW, got a fair amount done.

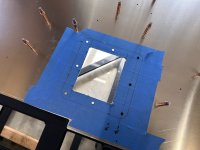
Started off by locating, drilling and then cutting out the vents that will be hidden on the front of the box behind the cab.

IMG_6002.jpeg

IMG_6003.jpeg

The cutouts are offset slightly due to the uprights, so the rivets can grab those as well.

IMG_6004.jpeg

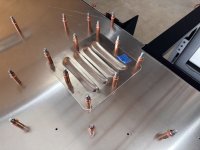
Looking pretty decent. The louvers are from rodlouvers.com although I actually ordered them via Amazon.

IMG_6005.jpeg

IMG_6006.jpeg

Then it was on to duplicating those trim pieces for the other side, I'm happy with how they came out.

IMG_6007.jpeg

IMG_6008.jpeg

IMG_6009.jpeg

Next on the to-do list is probably a trim piece that goes all the way across and then making a panel for the inside of the driver's compartment where I plan on mounting various electrical things.

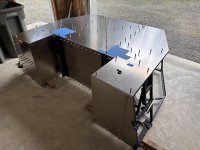
After I get those done, unless I find something else that needs doing it may be time to start riveting these panels on for good so I can tip it up and get it back on my fabrication table.
 

gprguy

Well-Known Member
Joined
Apr 14, 2022
Messages
539
Reaction score
1,254
Location
Kitsap Peninsula, WA
Back when I was building the frame I added a couple of bars on the driver's side to hold a panel above the inverter to mount things like fuse centers, Victron Orions, or whatever else I can fit there. So now it's time to make that panel. A couple quick cuts and bends later:

IMG_6012.jpeg

Used that panel as a template to drill the cross bars and add some stainless rivnuts.

IMG_6013.jpeg

Looks good.

IMG_6014.jpeg

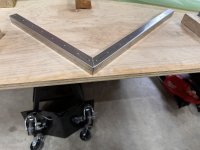
That'll come in handy later. Last big project before attaching some of these panels for real is to build the cover trim that hides the joint going across the front.

IMG_6015.jpeg

Ideally I'd either make this out of a continuous 7' strip, or maybe even two 4' strips, but I only have easy access to a 36" shear so 3 pieces will have to do. It'l be hidden behind the cab anyway.

IMG_6016.jpeg

Good enough for me.

IMG_6017.jpeg

Now it just needs to all come apart, clean up sharpie marks, deburr and then start riveting.
 

gprguy

Well-Known Member
Joined
Apr 14, 2022
Messages
539
Reaction score
1,254
Location
Kitsap Peninsula, WA
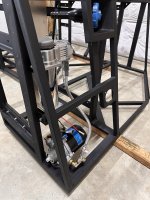
Spent the afternoon cleaning things up and getting ready, should be able to start riveting tomorrow afternoon.

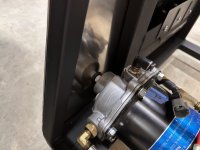
I also finished a few odds and ends and mounted a couple of components that will be much more difficult (but not impossible) to mount once the box is skinned.

IMG_6019.jpeg

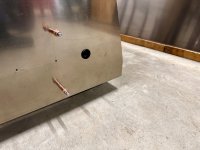
That included drilling a hole for the water separator drain with an grommet to help seal it up.

IMG_6020.jpeg

IMG_6022.jpeg

Long way to go but mounting some of this stuff makes it feel like I am getting somewhere. Tomorrow should be fun.
 

Users who are viewing this thread

Top