Ram Heavy Duty Forum

Register a free account today to become a member! Once signed in, you'll be able to participate on this site by adding your own topics and posts, as well as connect with other members through your own private inbox!

Etoimos' 2022 Power Wagon Build

Etoimos

Well-Known Member
Joined
Aug 5, 2021
Messages
360
Reaction score
618
Location
Colorado
It has been a while since I've updated anything on this thread, so I guess I should take the time to share some things.

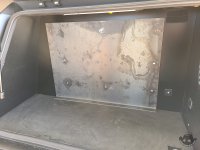
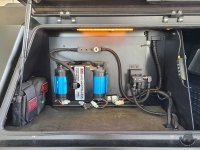
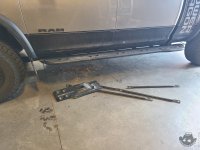
First up, I had some issues with the ARB Twin Compressor being mounted on the MOLLE panel in the SmartCap side bin. The weight of the compressor and the hard hits on the trail caused the panel to fail in multiple spots.
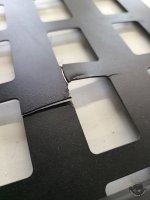
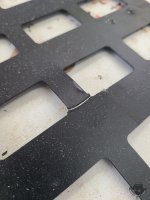
20230604_111753.jpg

20230611_110109.jpg

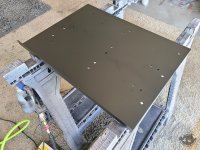
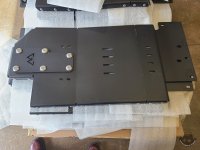
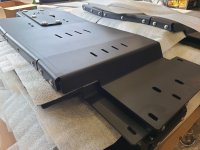
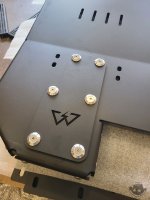
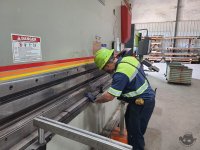
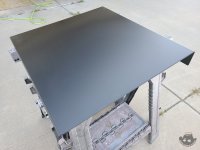
To fix this I had a new, solid 12 gauge steel panel fab'd up. It was a simple one bend L shaped panel that would rest on the bottom of the side bin. I laid out everything for the air system on this new panel and drilled all the mounting holes and then powder coated it satin black.
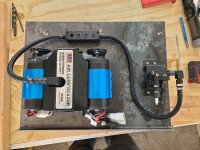
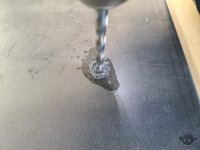
20230611_110122.jpg

20230611_070720.jpg

20230611_080508.jpg

20230620_151842.jpg

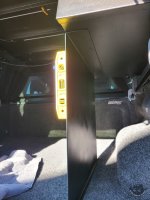
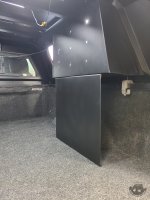
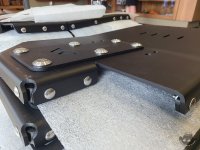
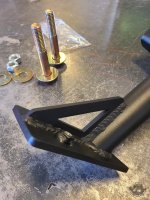
Using this thicker panel added a lot more weight and I was concerned that the SmartCap side bin would not be up to the task. So, I also had another panel fab'd up to support the weight from underneath and powder coated it..
20230620_084612.jpg

20230620_172052.jpg

20230620_175311.jpg

20230620_202135.jpg
It looks like it is not aligned with the bin above it, but it is.

With the fridge, dog crate and this support, a lot of the bed space is taken up. At least this support gives me a good place to attach things if I need to in the future.
 

Etoimos

Well-Known Member
Joined
Aug 5, 2021
Messages
360
Reaction score
618
Location
Colorado
With the new panel and support, I was able to get my air system reinstalled.

20230623_161226.jpg

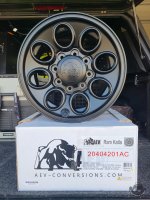
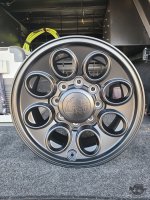
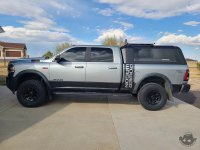
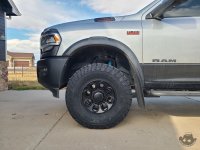
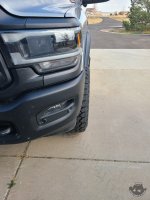
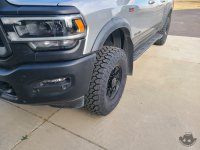
The other major update to the truck was a set of new wheels and tires. For the wheels I went with the AEV Katla from CJC Offroad.

20231010_155753.jpg

20231010_155629.jpg

For the tires I went with the same ones I run on my OGT trailer and what I had on my Gladiator, General Tires Grabbers ATX in 35x12.5R17.

20231024_150547.jpg

20231024_150531.jpg

20231024_150610.jpg

20231024_150615.jpg
 

Etoimos

Well-Known Member
Joined
Aug 5, 2021
Messages
360
Reaction score
618
Location
Colorado
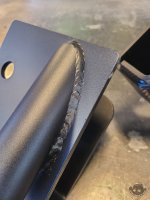
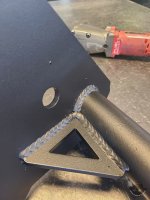
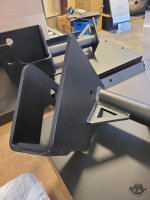
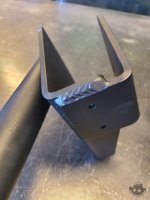
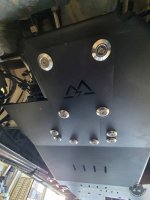
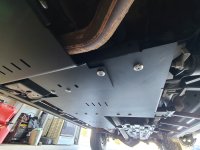
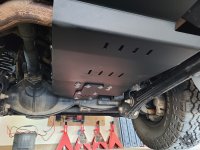
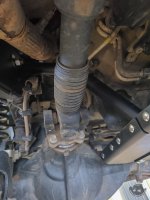
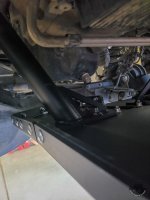
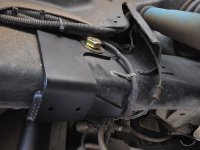
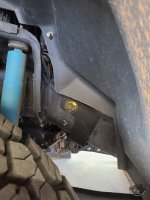
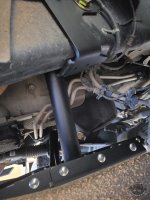
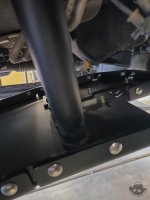
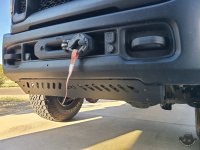
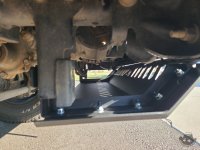
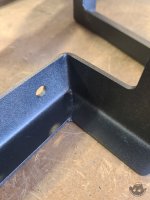
This past Friday I went to @GODZ_MFG and purchased their complete skid plate system. Both Drew and Grant were cool dudes and even installed the skids for me. The quality of the skids are amazing and the powder coating looks really nice. The welds looked super good, but you will see those in the photos.
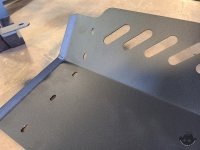
Transmission skid

GodzSkidPlates-155051.jpg

GodzSkidPlates-155113.jpg

GodzSkidPlates-150956.jpg

GodzSkidPlates-155058.jpg

GodzSkidPlates-151827.jpg

GodzSkidPlates-151831.jpg

GodzSkidPlates-151835.jpg

GodzSkidPlates-151109.jpg

GodzSkidPlates-152232.jpg
 

GODZ_MFG

Active Member
Joined
Jun 10, 2022
Messages
63
Reaction score
118
Location
Castle Rock, CO
It's nice to see a full steel option on the market, only other one I've seen was the maple (which no longer sells to the us from my understanding) and an aluminum option.

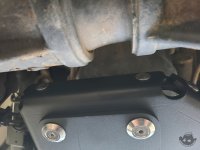
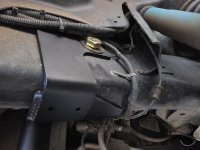
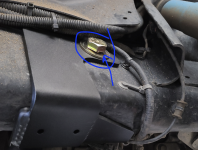
One thing though, that bolt sketches me out.
View attachment 71793

We’re sorry it sketches you out :(

The hole in the frame is not square to the faces of the inside and outside of the frame, which causes some ‘misalignment’. Based on the fact they are on different axis’s, coupled with the fact that our 1/4” steel bracket does not allow any flex, results in a slightly misaligned bolt. But rest assured, a 3/4” grade 8 bolt torqued to 100 ft lbs won’t let you down.
 

GODZ_MFG

Active Member
Joined
Jun 10, 2022
Messages
63
Reaction score
118
Location
Castle Rock, CO
Total weight for the complete set is 95lbs. The transmission skid with the steel brackets comes in at around 40lbs whereas the 3 bar replacement system that includes two full skids is around 50lbs combined!
 

UglyViking

Well-Known Member
Joined
Jul 11, 2020
Messages
1,310
Reaction score
1,600
For clarity, the actual plates are aluminum. The brackets and reinforcements are steel.
Thanks for the heads up, that's a very odd decision. It should be fine for your intended usage, but it kind of surprises me.

Truck build it looking great man!
 

Etoimos

Well-Known Member
Joined
Aug 5, 2021
Messages
360
Reaction score
618
Location
Colorado
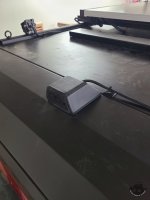
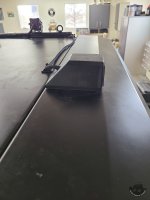
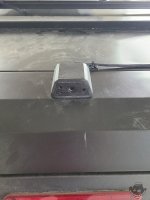
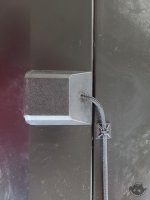
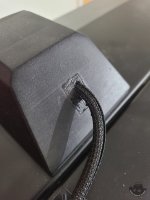
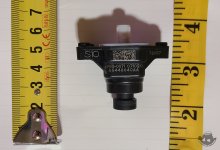
The RSI SmartCap (or any topper for that matter) has one rather big drawback, and that is that you loose the use of your rear view mirror. In my case it was the digital rear view mirror/camera. To solve this issue I ordered an extension cable for the stock camera from Pasternack (White FAKRA Plug to FAKRA Jack cable using RG316 Coax) to the length I needed for move the stock camera to the rear of the SmartCap. I did not want to drill any holes into the SmartCap, so I used a CAD program to design a housing for it that had the same basic shape as the SmartCap. I then had a buddy at work 3D print the housing. I still need to make a few tweaks to the design and printing, but the prototype housing has been working very well.

RearviewCamera-095450.jpg

RearviewCamera-095457.jpg

RearviewCamera-095503.jpg

RearviewCamera-095540.jpg

I used some moldable silicone putty to seal the back of the housing where the cable exited and the hole left in the 3rd break light housing where I pulled the camera from.

RearviewCamera-095443.jpg

It has been real nice being able to see behind the truck again!
 

Metternacht

Active Member
Joined
Jan 15, 2021
Messages
175
Reaction score
237
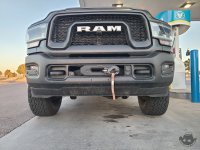
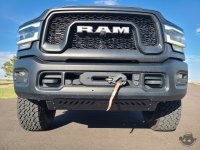
Looks like the inter-cooler/skid attaches to the under run safety brackets. So if those are removed to mount a front hitch or other it is incompatible?
 

Etoimos

Well-Known Member
Joined
Aug 5, 2021
Messages
360
Reaction score
618
Location
Colorado
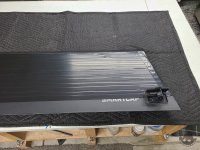
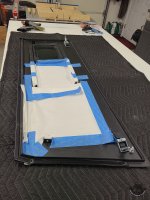
Speaking of the SmartCap, the side glass must of caught a rock driving home from work one day. The cost of the replacement glass and having a shop install it was going to be below my insurance deductible, so this past weekend I set aside the time to clean that up and replace it my self.

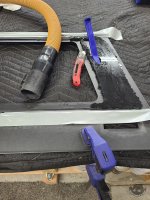
I covered the whole glass with tape and then finished busting out as much of the remaining glass as I could.

GlassReplacement-074113.jpg

GlassReplacement-074138.jpg

GlassReplacement-082024.jpg

GlassReplacement-082030.jpg

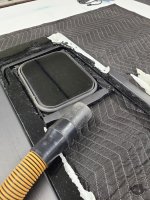
The next part of the project was not as easy. Using a utility knife, I cut into the old adhesive between the glass and the door frame. IT was pretty tough to cut though and the bulk of the knife did not help.

GlassReplacement-093926.jpg

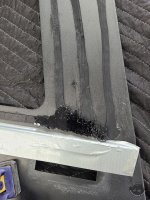
AS you can see in the photo below, they used three lines of adhesive on the leading and trailing edge of the glass. These areas were the toughest to remove as getting the knife under the glass with the right angle and force was not easy.


GlassReplacement-100602.jpg

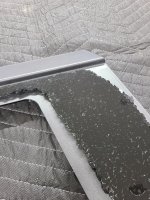
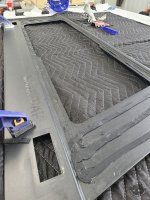
With all the glass removed, I used the knife to try and cut the remaining old adhesive down so that it was a level as possible all the way around.

GlassReplacement-110706.jpg

The only thing left to do was put new adhesive on top of the old adhesive and set the new glass in place. The new adhesive I got from Amazon for $15. It is applied with a normal caulking gun, but is very thick. I put my tube of adhesive into a gallon ziplock bag and submerged it in 100° water for the entire time that I was working on the rest of the project. Even then it was pretty difficult to squeeze it out. If you ever have to replace your own glass, I'd suggest using it as an excuse to buy an electric caulking gun.

I've not taken any pics of the finished project, but it has been on the truck for 4 days now and looks as good as new.
 

Soapy

Active Member
Joined
Jul 9, 2022
Messages
83
Reaction score
160
If you have the digital rear view mirror your truck should be wired for the optional trailer brake camera. I bought the Mopar trailer camera kit and added it to the RTT I have mounted on my truck. The trailer camera gives you several features like tilt down in reverse and the ability to move the view from right to left and up and down through the rear mirror.
 

Users who are viewing this thread

Top