What's new
Ram Heavy Duty Forum

Register a free account today to become a member! Once signed in, you'll be able to participate on this site by adding your own topics and posts, as well as connect with other members through your own private inbox!

Crusty's 75th Annv PW #1590 build/mods adventure

Yea, I figured air pressure will make a difference. Since I run empty the majority of the time, I'll just set it for the tire pressure I'm normally running. When I have to air up to haul a heavy load, I won't really bother with it.
 
Ok, did my programming. I think I'm within 1% error.
I put in 34.25 tire dia, 2733 mm. Test drive shows maybe .5 MPH high on speedo compared to app. So I'll leave it like that and check in a week and see that it holds steady.
 
Ok, did my programming. I think I'm within 1% error.
I put in 34.25 tire dia, 2733 mm. Test drive shows maybe .5 MPH high on speedo compared to app. So I'll leave it like that and check in a week and see that it holds steady.
Now to throw another variable at you. I have had phone apps show different speeds..... LOL. My Garmin was always right though.
 
HaHaHa.
It seems that when I drive in to work in the morning, its stable. But going down my test road in the evening, it varies.

I'll check it on the way to work in the morning.
 
Figured I'd start a build thread. Have a few ideas going on in my head of what I want to do. We will see how they pan out.
2021 75th anniversary edition power wagon in Delmonico Red Pearl. Only factory option was the bed group.

Current list of mods.
AMP power steps.
35x12.50R17 BFG KO2
Magnaflow muffler and delete the ugly resonator. Black tip.
Ceramic window tint.
Kenwood VHF radio I use for off road racing support.
Soft tri fold bed cover.
LED light bar?

One thing I'm going to try and figure out is how to mod the factory rock sliders and use them with the AMP power steps. That may be a big chore from my initial looking at the sliders.

More to follow.

My canvas.

View attachment 18087
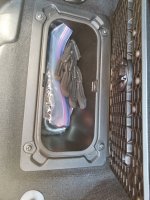
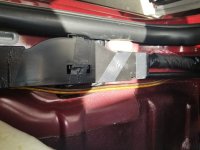
So today I went ahead and connected up the lights for the steps. Not wanting to do any drilling, I started seeing if I could run the wires thru the drain hole plugs. Low and behold, I found a way. There is a hole between the two layers that it took a bit to get a solid wire thru so I could pull the wiring thru with, but it works.

View attachment 18988

View attachment 18989


So I drilled a hole in the rubber drain plug, ran the led wires thru the hole, then soldered on some extension wires to reach the wire loom. Connected them to wire loom and wrapped everything in electrical tape. Everything works good.
View attachment 18990View attachment 18991View attachment 18992View attachment 18993View attachment 18994View attachment 18995
You must be very satisfied on how all your mods turned out. Well worth the effort!
 
So far, so good. Thanks.
But this isnt my first, or even 5th build. :cool:

It's one of those obsessed hobbies of mine. I've only had 1 stock vehicle in the last I don't know, 30 years or so. :rolleyes:
 
Last edited:
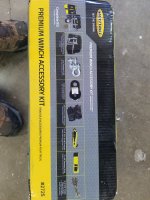
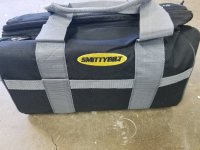
Got my winch starter kit today. Smittybilt kit.
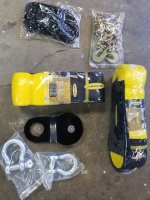
Bag, 2 3/4" shackles, 17.6 K lb snatch block, tree truck strap, 30' recovery strap, 6' choker chain, and a pair of gloves I hope fit.20210731_152103.jpg
20210731_152318.jpg

20210731_152424.jpg
 
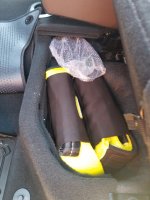
Got the kit stored in the truck. Under the back seat and in the floor bin. Just coukdnt fit the fancy bag in there.20210801_115445.jpg
20210801_115450.jpg
 
So I have a Kenwood VHF 110W radio that I use when I do race support down in Baja and out in Nevada.
I didnt want to cut up or drill into the new truck so I've been working on designs. Heres what I've come up with so far.
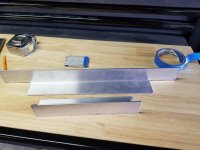
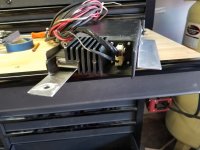
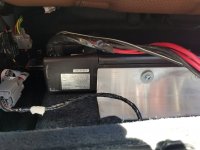
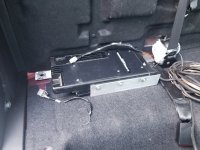
The main. Radio will be mounted under the back seat on the passenger's side. It fits behind the factory sub and amp. I originally built a back angle bracket i had plan on bolting down using the back outer seat bolt and the seat belt mounting bolt.
But once i got the bracket in, i found out i cannot get to the seatbelts bolt.
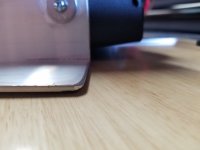
So I'll mount it to the seat bolt and just put the "tab" behind the seat belt mount. Once tight, this should hold the radio in place. I also built a front mount for the radio. This is so I can raise the radio an inch off the floor to get air all around it. Yea, I miss drilled the front mount and have to refill it so the base is u NV der the radio.20210801_141050.jpg20210801_144454.jpg20210801_144500.jpg20210801_144700.jpg
20210801_144704.jpg
 
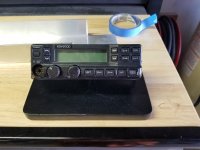
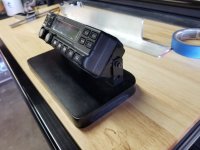
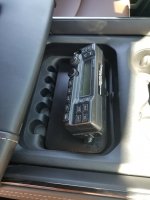
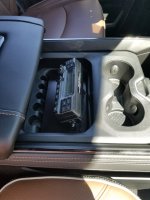
For the remote head unit, I cut a piece of wood that will fit tight down in the sliding tray in the console. I can remove it when not in use and store under the back seat. Or if need be, can run it out the rear window and set it on a table or the tailgate for outdoor use.20210801_141110.jpg20210801_141113.jpg20210801_141635.jpg20210801_141639.jpg
 
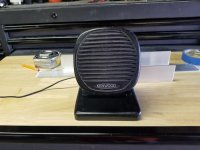
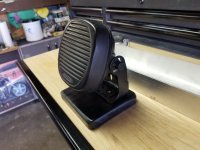
I made a similar mount for the speaker. I just need to figure out how/where I'm going to place it in the truck.
I'm also working with SDHQ and Bullet Proof Diesel to see if their 3rd brake light antenna mount will work on the '21 RAM 2500's. If so, then I wont have to drill a hole in the cab to run the antenna wire out. Hope to have a answer soon.
20210801_141527.jpg20210801_141529.jpg
 
Have you done the rear seat tilt mod? I did it on my 07 and I mounted the Kenwood amp on a board I made to fit the back wall. It worked very well. I also had a stereo amp and power distribution junction on the back wall. I was also able to store some thin items back there. Just another option.

I have yet to do the mod on my 2020.
 
Hmm. Havent heard of the rear seat tilt mod. Will have to look into that one. Thanks.
If you have a link, I'd appreciate it.
 
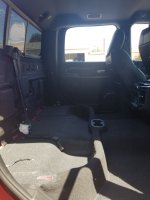
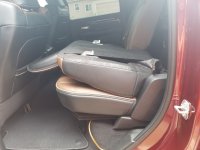
Ok, so I spent the last 2 days taking out both back seats, installing my race radio, running power wires, and went ahead and did the seat back mod.
I'll start with the radio power. Main kenwood radio is mounted under the rear passenger seat, behind the sub. I figured out how to run the power wires inside the cab, up to the firewall, and out to the engine bay. That way most of the wiring is inside the cab, rather than under it
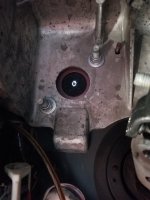
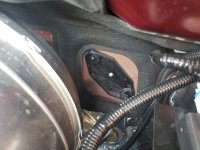
Ran it along the drivers side, under the carpet/threshold cover along with the factory wires. I found a plastic plug bolted to a hole just to the drivers side of the brake booster and drilled a hole thru it to run the wires. Just need to seal it off with some 3m right stuff and connect the fuse and wires to the battery.
20210806_141009.jpg20210806_175452.jpg
20210807_124405.jpg20210807_124414.jpg20210807_124034.jpg
 
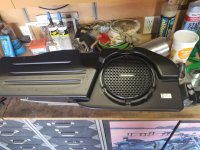
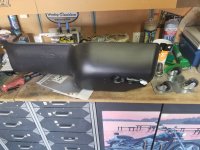
So since I pulled everything out, I found out what I thought was the factory sub and amp, is just a sub box. Not sure where the AMP is.
20210806_135358.jpg20210806_135352.jpg
 
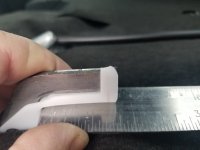
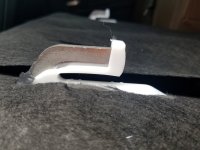
Now for the seat back mod. So I watched a few videos and did like they said and cut just below the plastic piece they said to cut below. But when I put the seat back in, it was a little hard to open or close to latch and was pulling/running on the body hook. I didnt like that.
Took some measurements and all and found that if I cut at a slight angle, measured down 1 1/2" from the inside of the hook, and then filed the edges round some on the inside and outside and enough to clear, I could open/close the back without it rubbing on the hooks or having to push/pull on the seat back. Yes you cut off a little of the plastic.
And it locks in securely with the bottom seat up or down.
20210807_105037.jpg
20210807_113603.jpg
20210807_113607.jpg
 
Back
Top