Eatonpcat
Well-Known Member
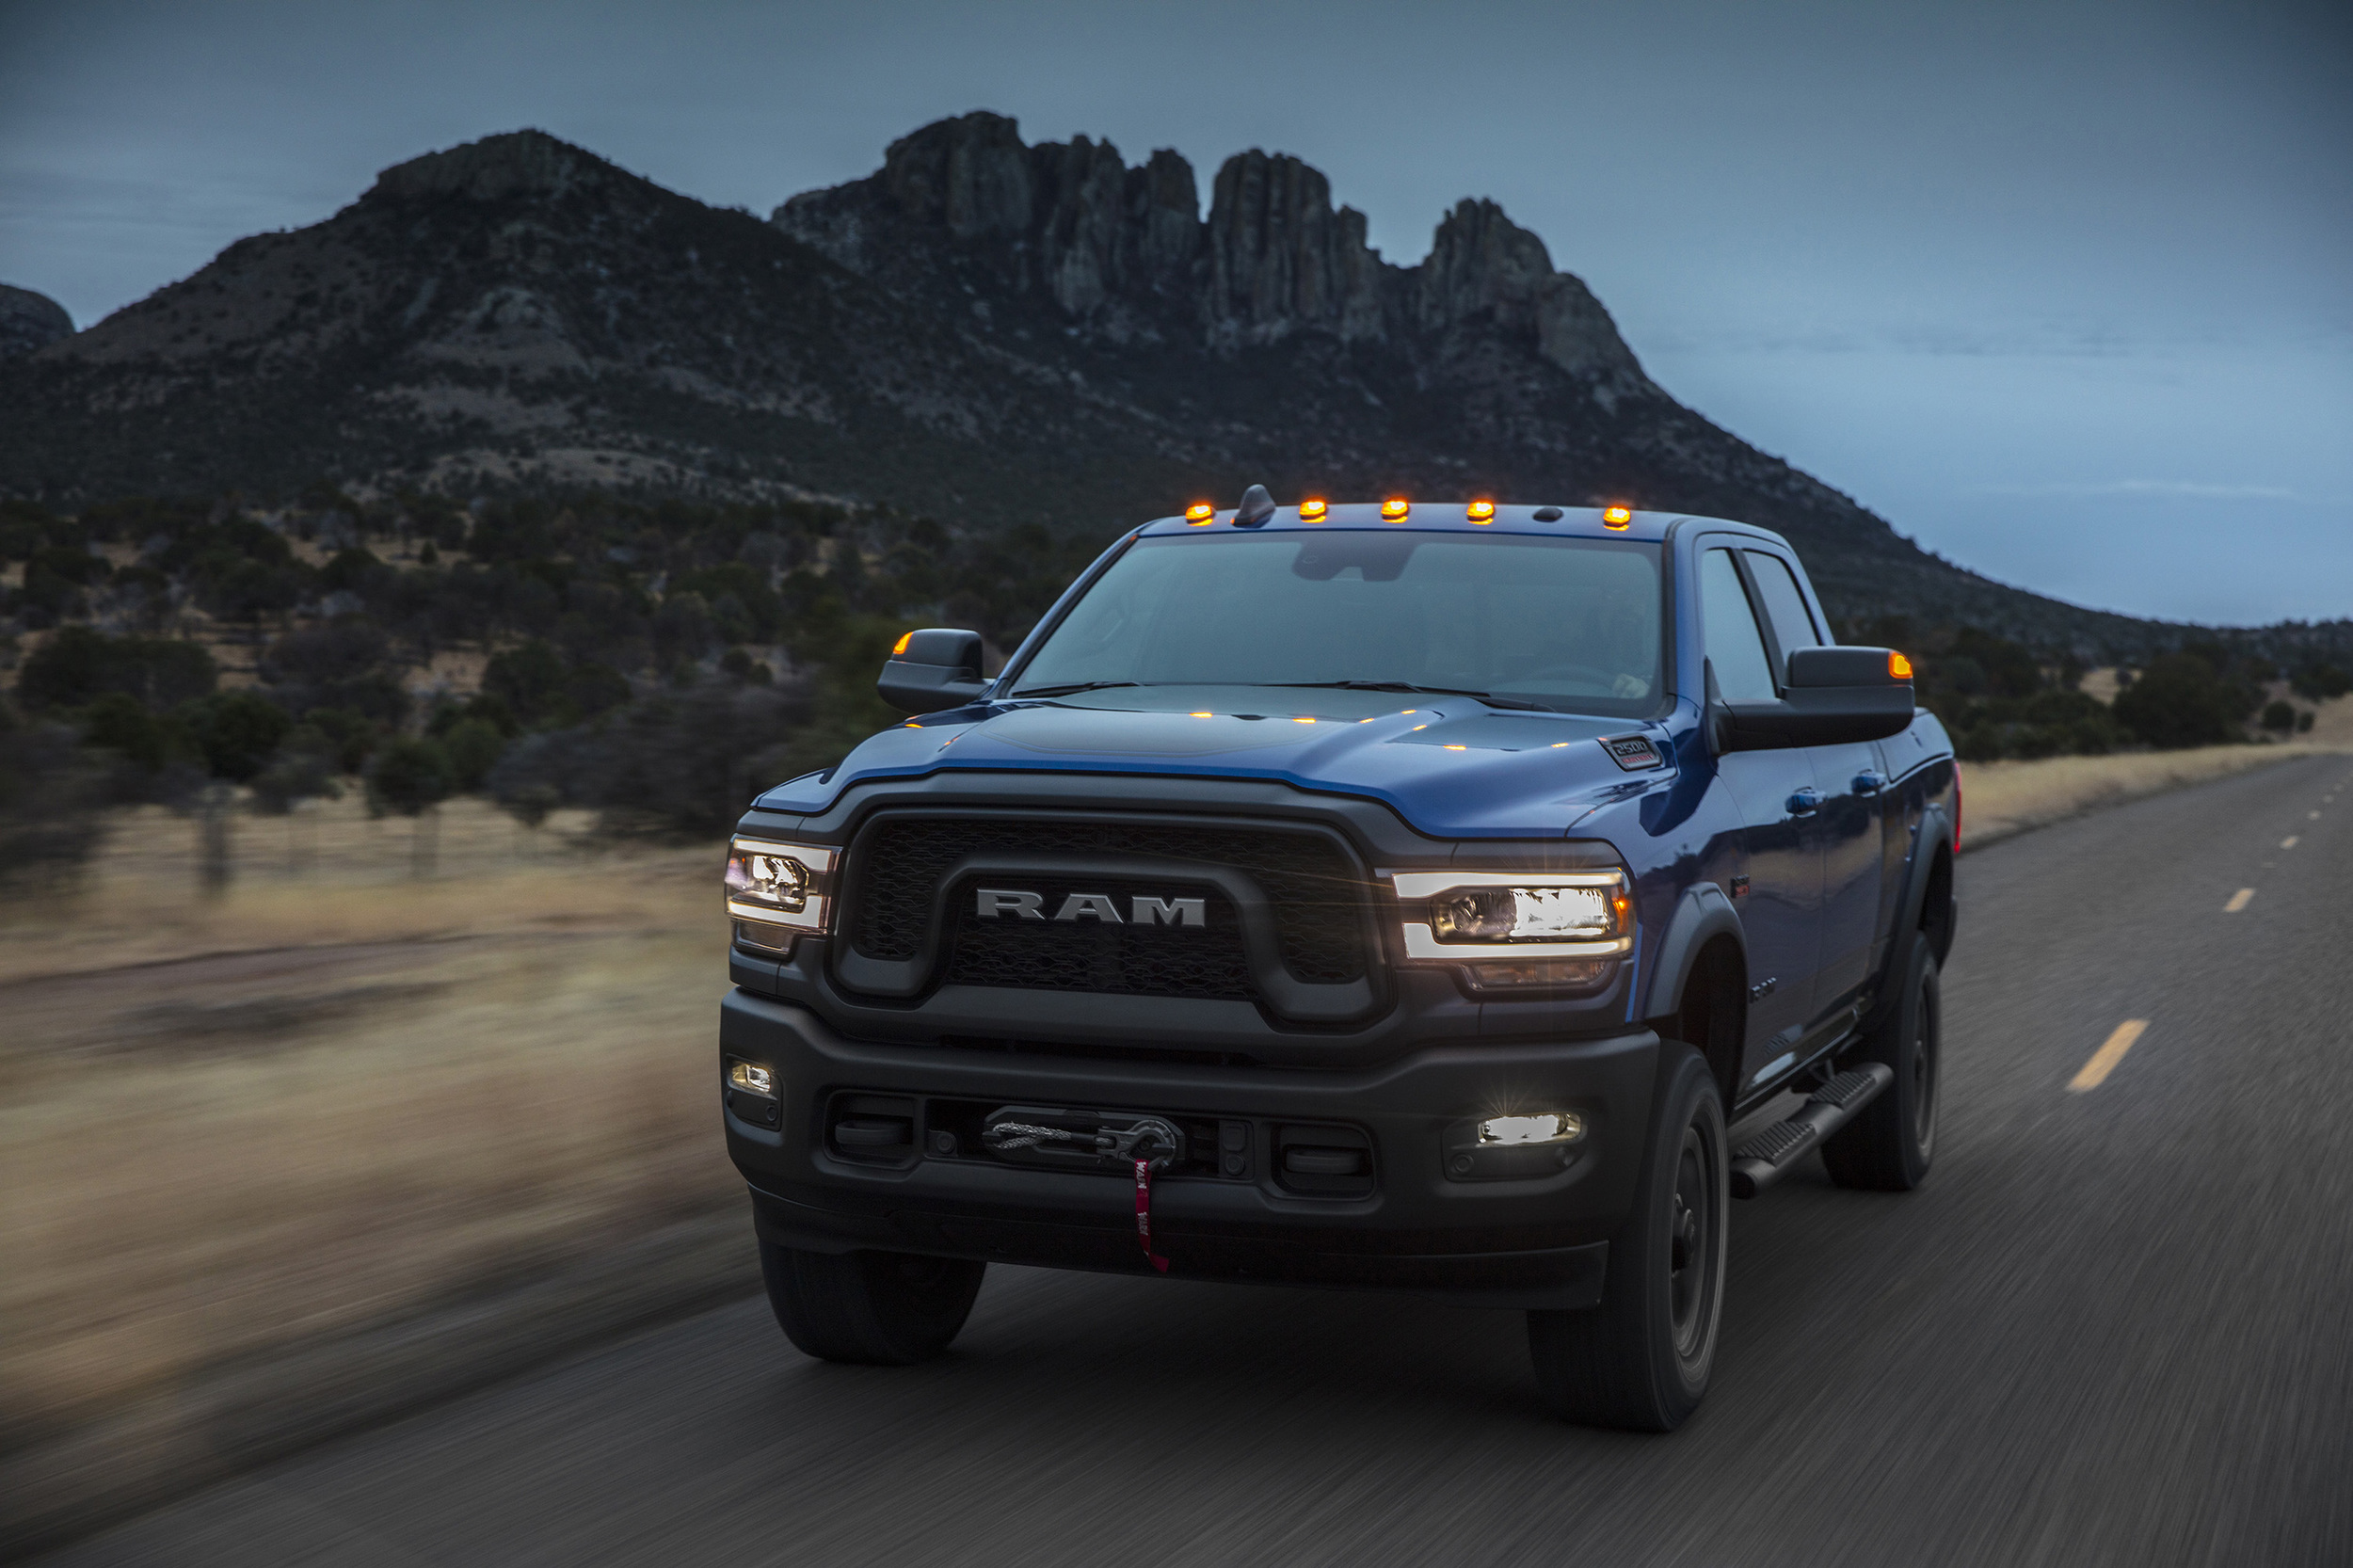
Damnnn, that looks mean!!Picked it up Saturday around 2 pm. Did a short ride. Got home and decided I’ll install all my parts instead of taking it to a shop. So I put about 40 miles on it and started the install. Took me a little longer that I thought it would but it’s done now. Here’s what I put on it.
2.5 Carli leveling kit
1” blocks for rear end and airbags
37” Cooper stt pros
20” fuel blitz wheels
Thuron adjustable track bar
And here’s a night time picture of it, it barely fit getting it out of my garage, it won’t be going back in.