Razzman
Well-Known Member
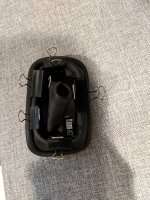
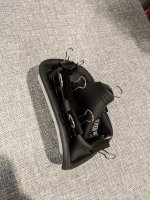
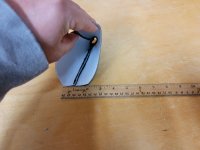
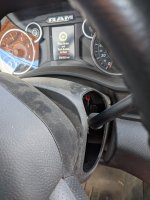
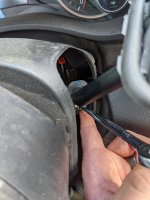
So couple of questions. Is the part number on the back of the oem boot somewhere? How do you remove this from the column? Don't want to jack it up.
I didn't see a part number on mine when I pulled it off but it could be somewhere.So couple of questions. Is the part number on the back of the oem boot somewhere? How do you remove this from the column? Don't want to jack it up.
That’s what I get for trusting the online parts houses.Did some digging on techauthority’s parts catalog, and I don’t believe anyone with a 2019+ has a 68400287AA installed on their truck. The generic online mopar fitment years are incorrect.
2020 is the only year they offer a replacement part number for the boot on the parts diagram, and it’s 68480815AA. The other 2019+ years, the boot is grayed out with a note that it is only serviced with the shifter. All 2019+ use the same shifter part numbers.
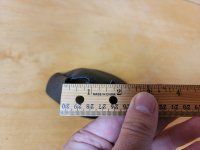
 Shoulda just stuck with @Nd79 ’s measurements.


Interesting.. thanks for sharing photos. I am actually impressed by the oem design and color. After seeing the crazy designs on her site, I was half expecting Hello Kitty to be embroidered across it. Very excited for her to get it ''plug & play'' so I can order myself.I'll also do a write-up after I get this completed


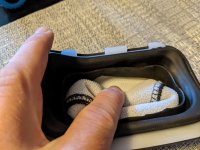


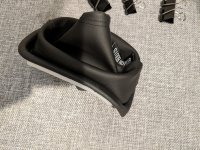
Got mine in the mail. Thanks for the pics, at first I was thinking "How the H-LL do I make this work!" Cool, got it now, Thanks for setting this up!Part 2.
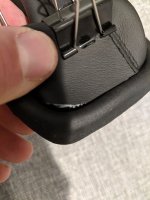
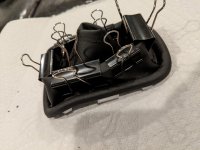
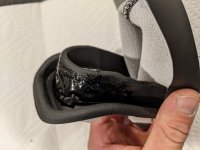
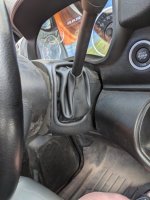
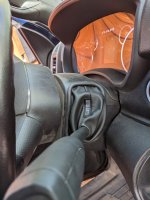
Today I installed the new/repaired boot and I'm definitely much happier with how this looks and how it shifts. The way I put mine on, when shifted the boot folds and unfolds neatly unlike the stock boot which never seemed to fold right.
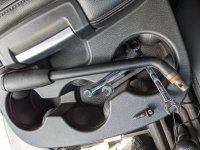
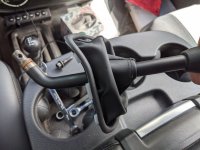
As far as install goes, it's super simple. First you have to unbolt the shifter with the bottom 10mm bolt (assuming your old boots is already off) in my picture. Then you slide the new boot on the shift lever, and reinstall the shift lever and 10mm bolt. My ratcheting 10mm wrench was my friend here as that bolt is really long winded. Then slide the new boot down and squeeze/snap it back into place between the two steering column bezels. I have a video of the shifter moving but not sure if I can get it to post on here.
I'm going to send her my factory shift boot PN 68480815AA so she can adjust her pattern accordingly.
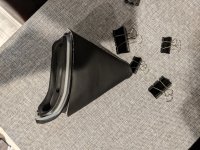
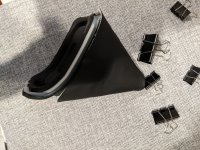
Me too, hopefully they reach out and make it right. If not, I now have an excellent tiny leather witch hat for my cat.Yea, that's gonna need a better fit and finish before I do that to my truck.
Update, they sent me a new, bigger one. I didn't even ask!Me too, hopefully they reach out and make it right. If not, I now have an excellent tiny leather witch hat for my cat.
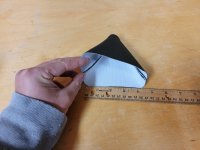
Looking at the design now, I will probably just sew one up myself.