Caleyvtwin
Active Member
- Joined
- Sep 7, 2022
- Messages
- 100
- Reaction score
- 77
We’ve had our truck for almost a year now and I couldn’t be more happy. Coming from the Ford world I am super pleased with the performance.
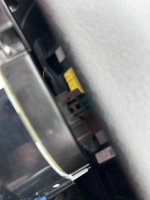
So we needed a 3/4 ton to pull a 40’ 5th wheel and I didn’t want or need the expense of a Diesel. So we found a 2020 6.4 tradesman with 10,000 miles on it. While it’s not basic it is lacking some of the things I enjoy in a truck. After much reading and research I have several things I want to do and I enjoy the research and sharing my upgrades. So, I will, to the best of my ability, document and share my progress and defeats.
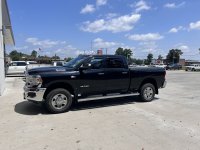
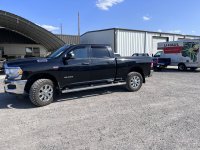
First thing I did was found a set nicer OE wheels put on a set of Toyo Open Country M/T’s.
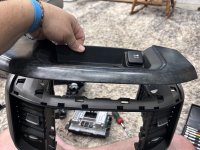
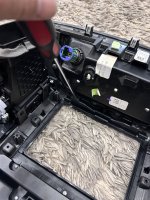
Here is a list of the things I plan to do.
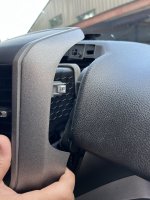
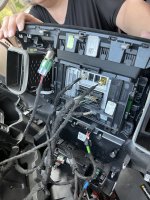
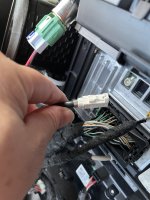
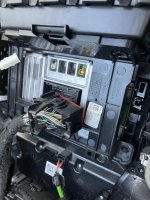
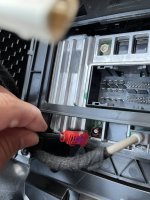
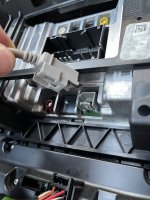
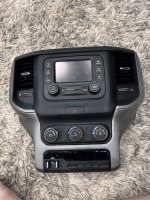
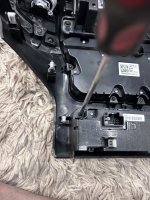
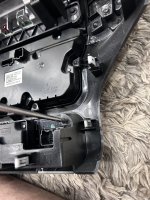
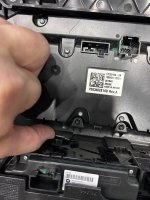
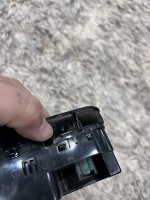
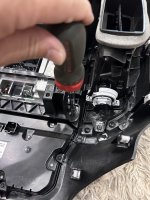
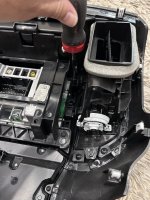
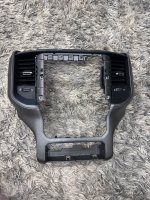
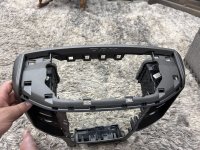
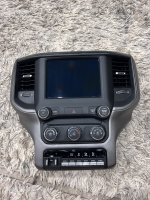
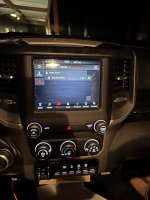
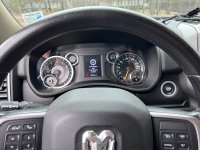
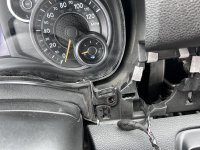
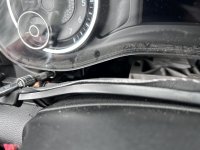
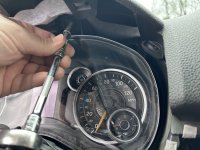
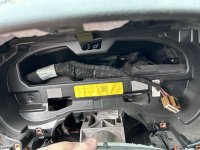
1. 5” to 8.4” upgrade
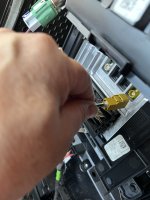
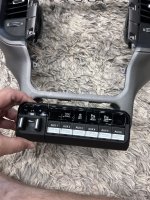
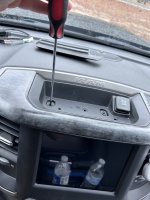
2. DIY Aux switches
3. Power fold mirrors
4. Proximity door handles
5. 360 Surround Cameras
6. BSM sensors
7. Bed lights
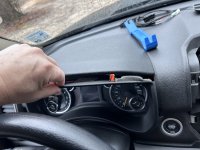
8. Front fog lights
9. Front park sense
10. Additional lighting front and rear
12 OEM fender flairs
11. And if anyone can it worked out I want to add the adaptive cruise.
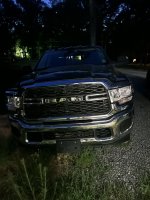
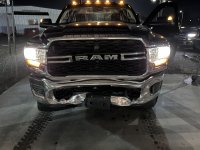
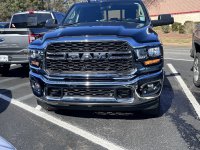
Here is a before and after with the new wheels and tires.
So we needed a 3/4 ton to pull a 40’ 5th wheel and I didn’t want or need the expense of a Diesel. So we found a 2020 6.4 tradesman with 10,000 miles on it. While it’s not basic it is lacking some of the things I enjoy in a truck. After much reading and research I have several things I want to do and I enjoy the research and sharing my upgrades. So, I will, to the best of my ability, document and share my progress and defeats.
First thing I did was found a set nicer OE wheels put on a set of Toyo Open Country M/T’s.
Here is a list of the things I plan to do.
1. 5” to 8.4” upgrade
2. DIY Aux switches
3. Power fold mirrors
4. Proximity door handles
5. 360 Surround Cameras
6. BSM sensors
7. Bed lights
8. Front fog lights
9. Front park sense
10. Additional lighting front and rear
12 OEM fender flairs
11. And if anyone can it worked out I want to add the adaptive cruise.
Here is a before and after with the new wheels and tires.