Flyin6
Active Member
- Messages
- 117
- Reaction score
- 221
- Points
- 43
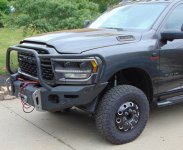
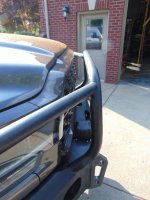
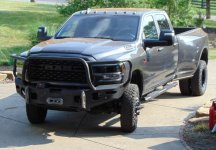
I’ve been eyeing a similar bumper but the pipe style. That looks like a steel craft correct? If it is, how was the quality?Talk about ugly, but very functional, I had installed a bumper for a trip out to Wyoming/Montana, where the year before I had almost run over two really big and dumb mule deer. Had I not seen them, I would have very likely totaled my Jeep. As a precaution, I purchased the pictured bumper to provide some protection.
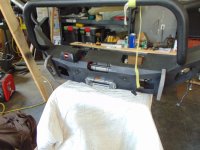
About as soon as I tightened the last bolt, I started to dislike that ugly thing, so it was just a matter of time before I replaced it.
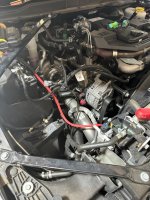
This is the start of that replacement. While the bumper was off there was a perfect opportunity to install the LED Morimoto headlights
It is "OK" in terms of strength. Having said that, the "tube part" was not all that robust. I'd say if I hit a white-tail at moderate speeds, it would not survive. The bumper is more of a fleet type bumper. It is not fitted all that well to the body in my view. Looks like a big fat lip hanging off the front.I’ve been eyeing a similar bumper but the pipe style. That looks like a steel craft correct? If it is, how was the quality?
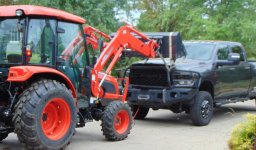
That truck is amazing!