Ram Heavy Duty Forum

Register a free account today to become a member! Once signed in, you'll be able to participate on this site by adding your own topics and posts, as well as connect with other members through your own private inbox!

Industrial Injection CP3 pump and installation and follow on use!

NordicNevs

Well-Known Member
Joined
Aug 29, 2019
Messages
484
Reaction score
862
Thanks man

We will get it done bud. I’m a bit slower than the 4 hour mark but it will be solid when it’s in.


Sent from my iPhone using Tapatalk
 

Brutal_HO

The Mad Irishman
Staff member
Joined
Feb 1, 2020
Messages
12,126
Reaction score
21,629
Location
Douglas County, CO
I take longer to do stuff too because I tend to work slow and methodical so I don't miss anything.

As to working space, I had a helluva time installing a vacuum pump on my 04.5 when I installed a Banks exhaust brake, including having to spend hours searching for the stock banjo bolt that I needed to reinstall in the CP3 so the vacuum pump would clear.

I had used a longer one to add a fuel pressure gauge setup and while I'm usually good at saving spare/takeoff parts, it took me hours to find that damn bolt.
 

GBB

Well-Known Member
Joined
Jan 4, 2021
Messages
318
Reaction score
410
Woo-Hoo! Can’t wait to hear it run.
 

NordicNevs

Well-Known Member
Joined
Aug 29, 2019
Messages
484
Reaction score
862
So she runs
And drives


But she is dumping fuel from the rail. Man I though I had those tight and doesn’t at idle so it’s only at high pressures.

Hmmm


Sent from my iPhone using Tapatalk
 

Cummins3

Active Member
Joined
Nov 23, 2019
Messages
362
Reaction score
133
Awsome I know pics and write up will be coming.... If you happen to take cp4 apart we want pics if it looks scarred or anything
 

dslbrnr

Active Member
Joined
Nov 27, 2020
Messages
162
Reaction score
103
Location
SO Utah
Hell ya, glad to hear it's done. Didn't seem like you had too much trouble.
Nice work
 

NordicNevs

Well-Known Member
Joined
Aug 29, 2019
Messages
484
Reaction score
862
Thanks everyone

I’ll do a post process write up soon. Photos were tough to come by cause everything required hands.

But we will get it done. I’ll augment the instructions where I can.

86d68f547d91e693afb77f35dce89ad4.jpg


Sent from my iPhone using Tapatalk
 
Last edited:

MegaDave

Member
Joined
Jan 5, 2020
Messages
59
Reaction score
63
Did u just have to tighten the rail more to stop the fuel leak?


Sent from my iPhone using Tapatalk
 

NordicNevs

Well-Known Member
Joined
Aug 29, 2019
Messages
484
Reaction score
862
Did u just have to tighten the rail more to stop the fuel leak?


Sent from my iPhone using Tapatalk

Yes.

I took both high pressure fuel lines off and re did them from the rail and connected them at the pump last. The rear one (closest to the firewall) was what I suspected of being loose. I took both off and repositioned them and really got a good wrench on em. You really gotta reach for that rear one and they have to be super tight.


Sent from my iPhone using Tapatalk
 

NordicNevs

Well-Known Member
Joined
Aug 29, 2019
Messages
484
Reaction score
862
Ok write up time.

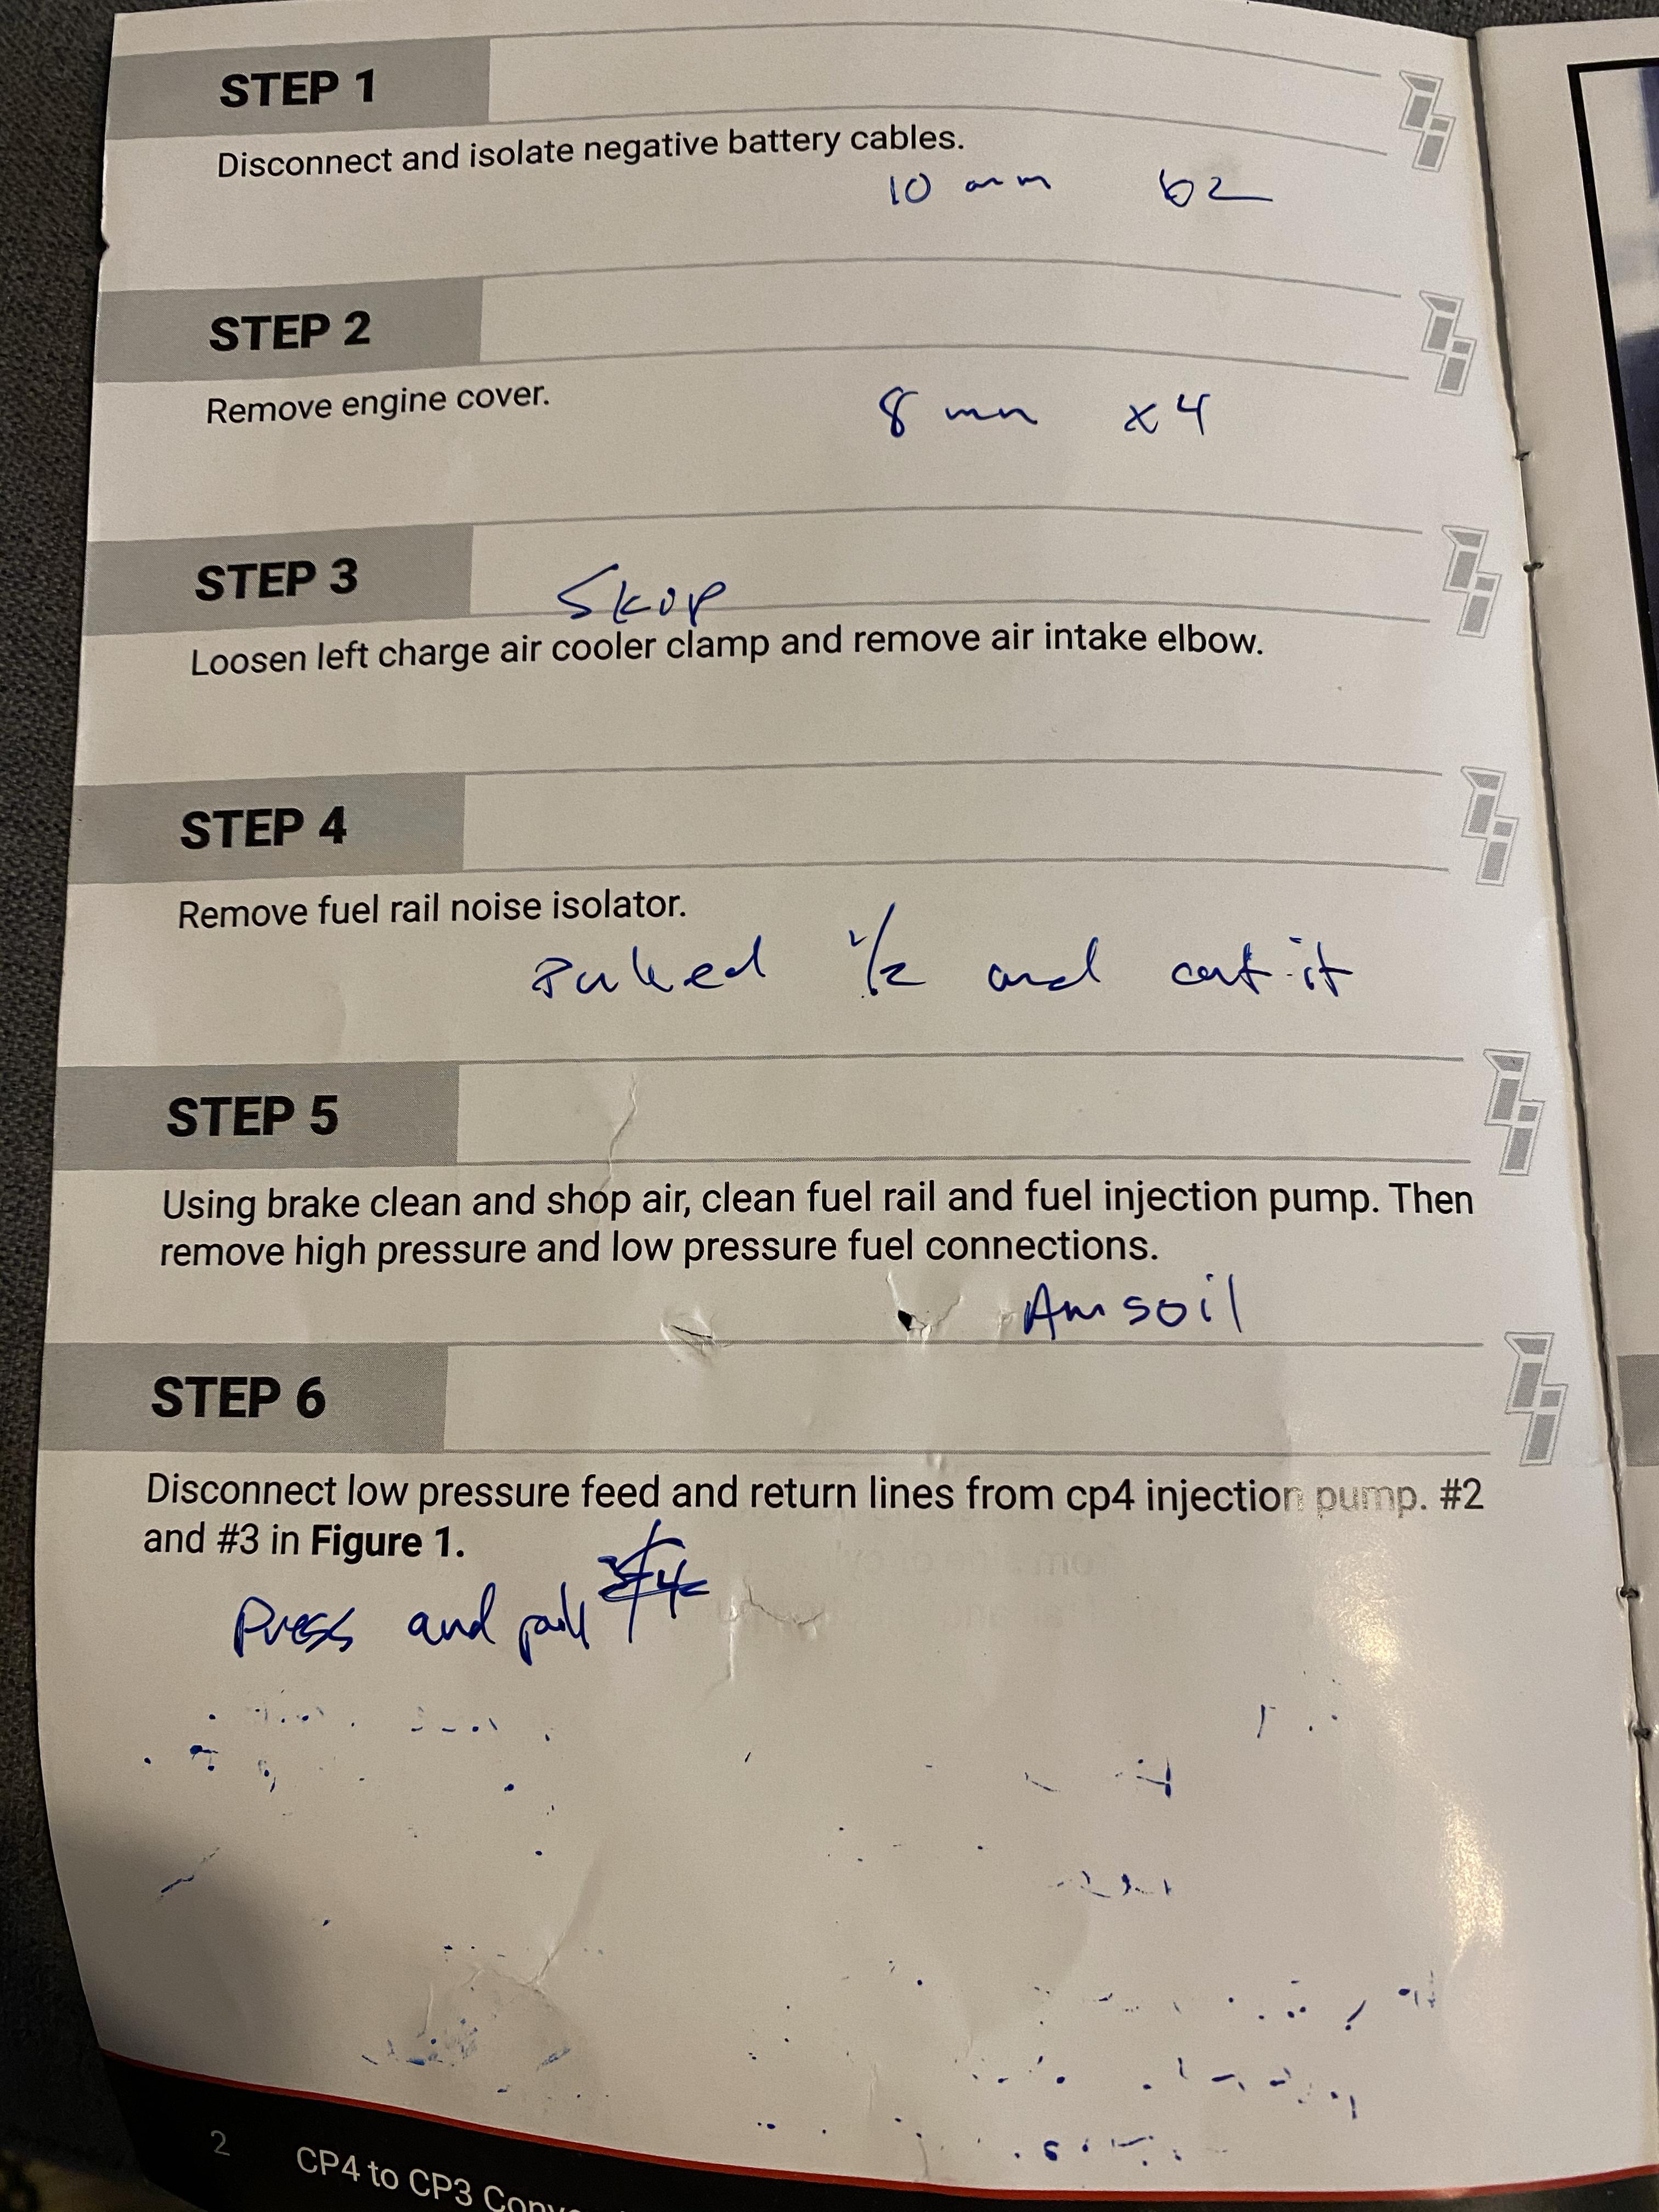
It’s not as helpful as a video or a plethora of photos step by step but I hope it’s an augmentation of the instructions so let’s do this. You’ll use my notes.

First and most important, tools.

8f2ec8a487aa73677837af10e4a2aade.jpg

5d075bd47bb3705717e3f51ed1e3ca15.jpg


Here is the breakdown

2 new fuel filters

Impact (larger one worked great for the 26mm to break the gear nut)
Gear puller
H6 hex socket head
Sockets (shallow and deep) 15mm, 13mm, 10mm, 8mm (maybe a 9 shallow), 26mm and 1-1/8
Ratchets (3/8 and 1/4 helped me) short and long
Blue loctite
Fastener remover (red handle)
MANY extensions (short snd long)
A few swivel extensions
Wrenches 3/4 (standard and stubby), 3/4 ratchet head adapter, 5/8, 10mm, 3/8, 13mm
Snips (cut sharp zip ties)
Flathead screwdriver
Lighting option (if you can move it around like the Milwaukee I have shown that’s ideal)
Torque wrench
Small pry bars
High temp electrical tape (optional)
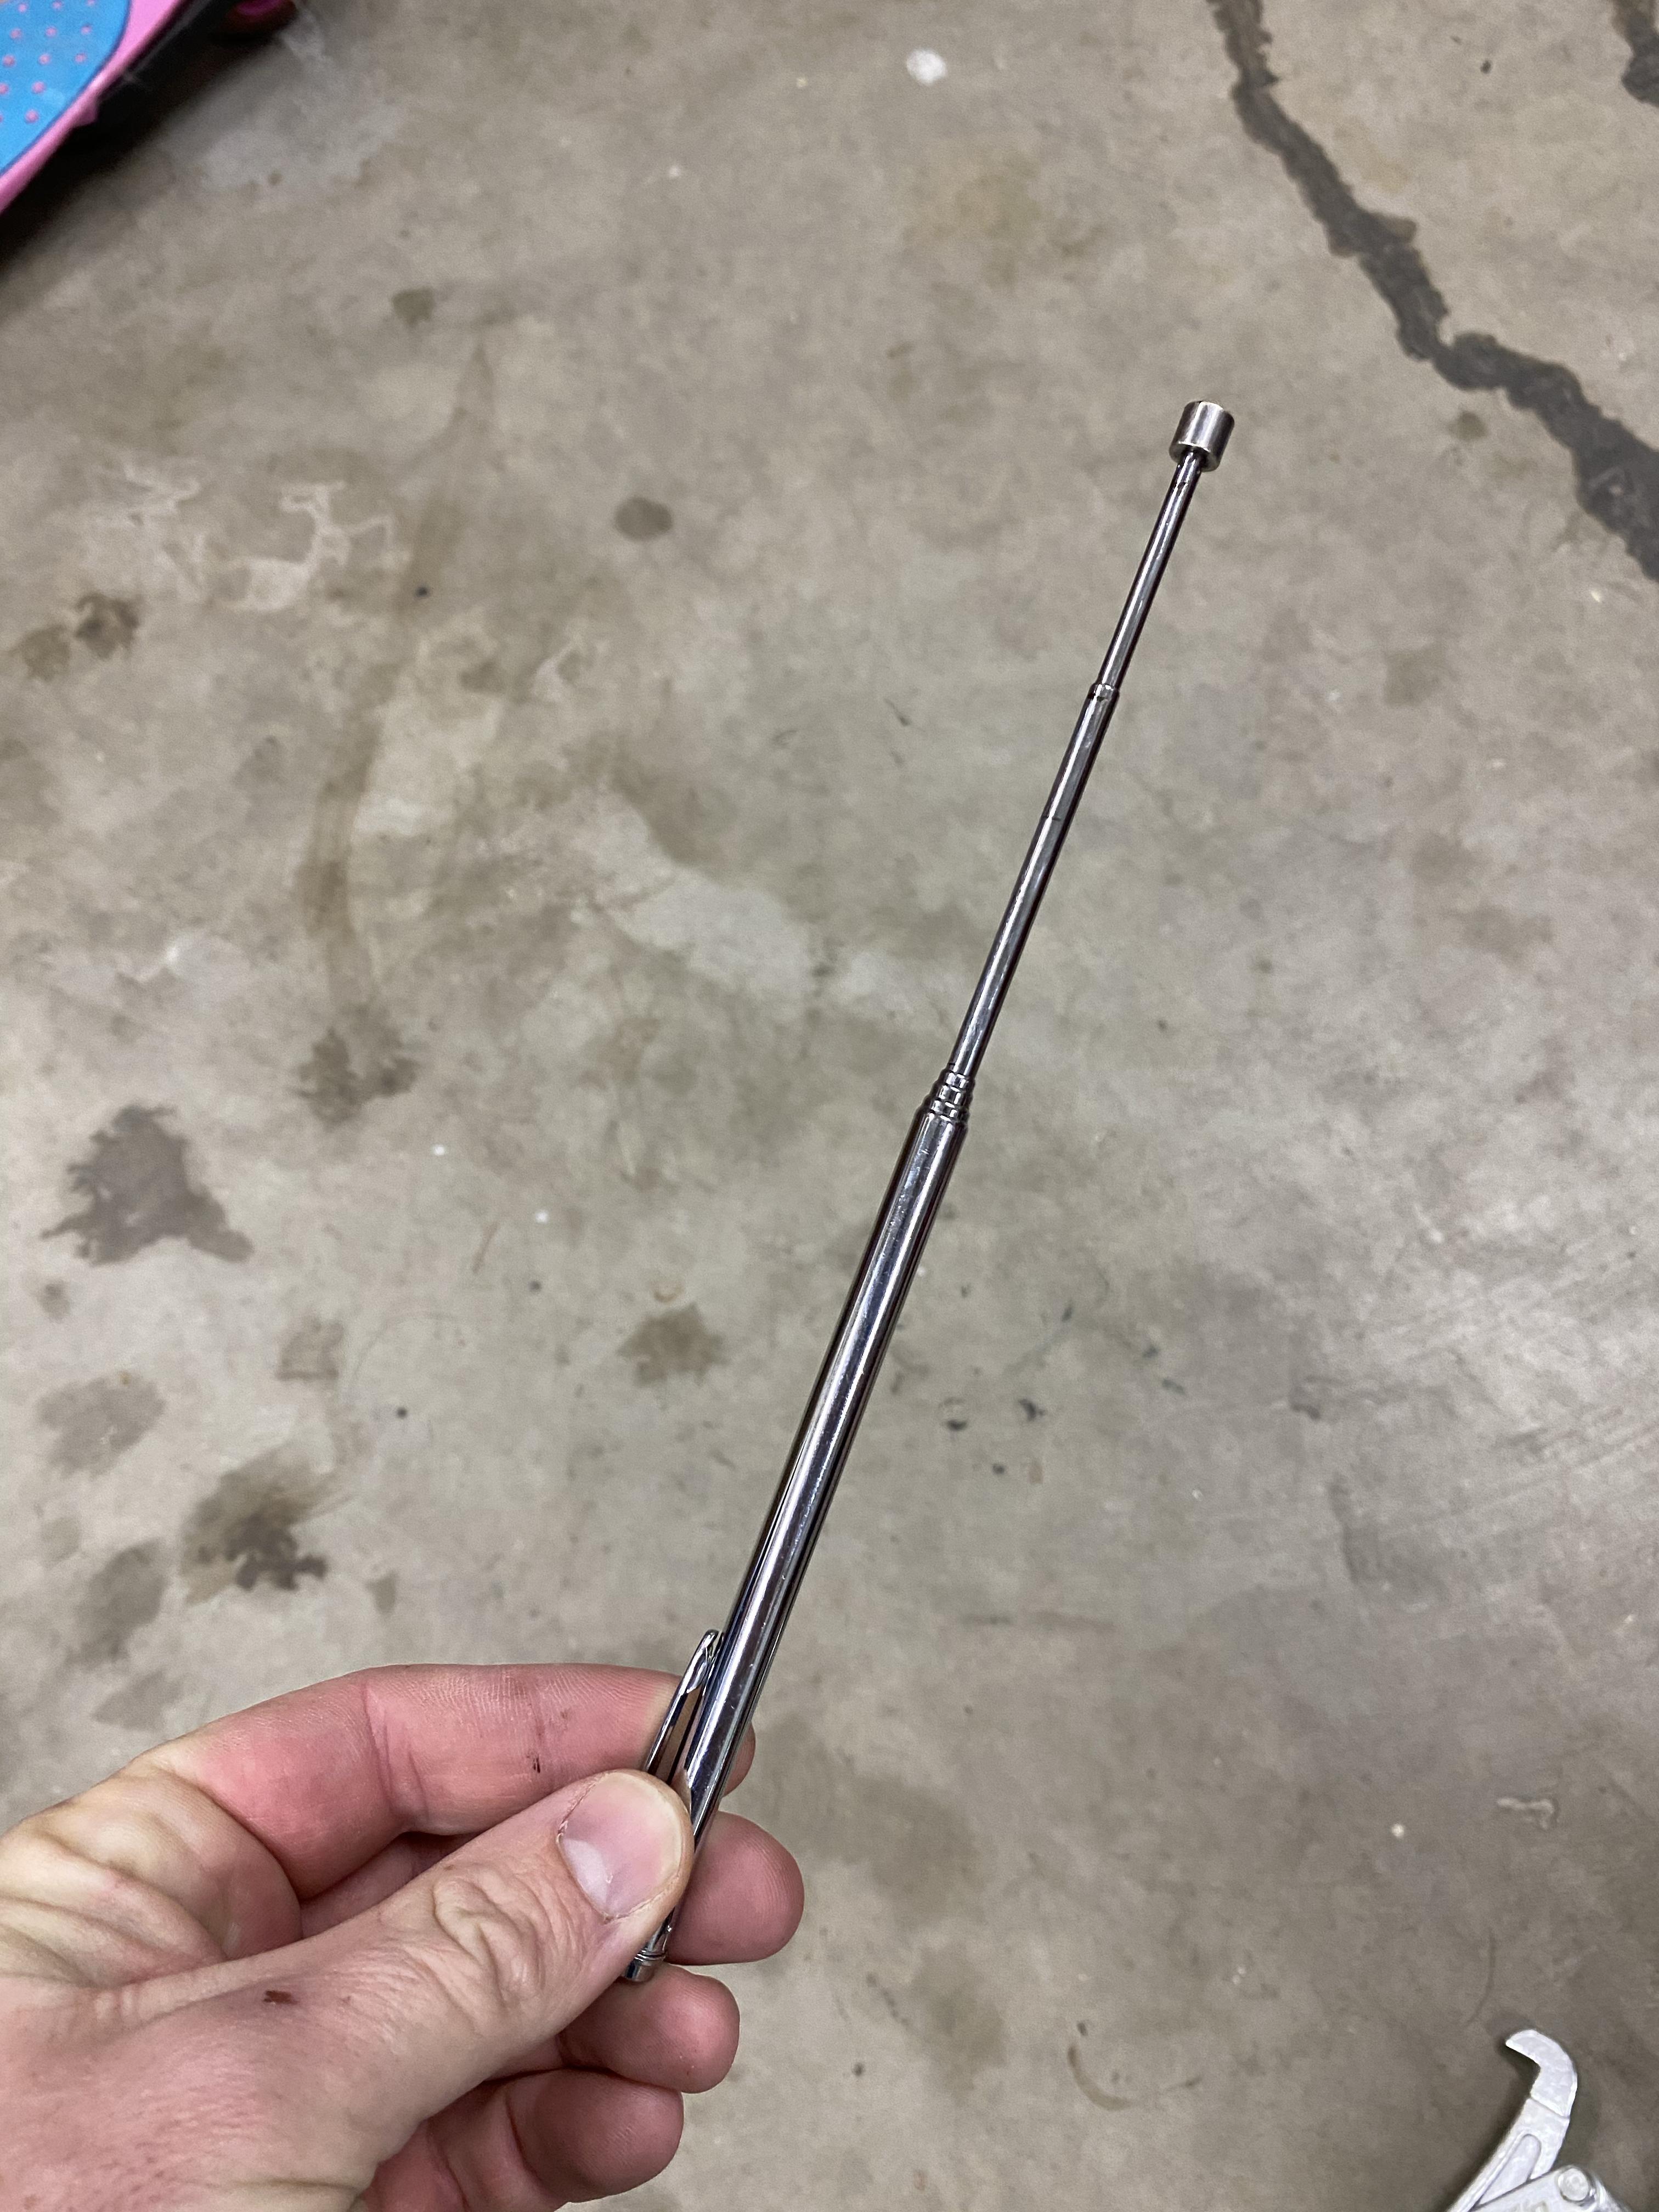
Magnet cause you’ll need it hahaha
Lucas assembly lube
Brake cleaner
Vice or a way to hold the gear of the CP4 (I had an old oil wrench that worked actually)

If I am forgetting something I apologize.


Sent from my iPhone using Tapatalk
 
Last edited:

NordicNevs

Well-Known Member
Joined
Aug 29, 2019
Messages
484
Reaction score
862
1d9f1e5e2d2beac77adce1005c21f6a4.jpg


1) 10mm on both batteries. Wrap them in something. I used a microfiber towel

2) easy to see on the top there are (4) 8mm bolts. Remove your dip stick to remover the cover, replace when it’s off

3) talked with industrial they said I could skip it if I wanted to. For me it didn’t add that much more room.

4) this thing doesn’t want to come out and you can skip it. However I pulled mine half way and cut it to have more access. You’ll want to undo the large connector on the top of the engine bay. Look at the fire wall and you’ll see it. A good time to move some of the clips and connectors holding wire harnesses in.

5) I used brake clean Amsoil. Low pressure are black and are push tabs while pulling. High pressure is 3/4

6) blend of step 5. Note the low pressure fuel line connectors rotate in the line so don’t worry about them you won’t hurt them.


Sent from my iPhone using Tapatalk
 

Users who are viewing this thread

Top